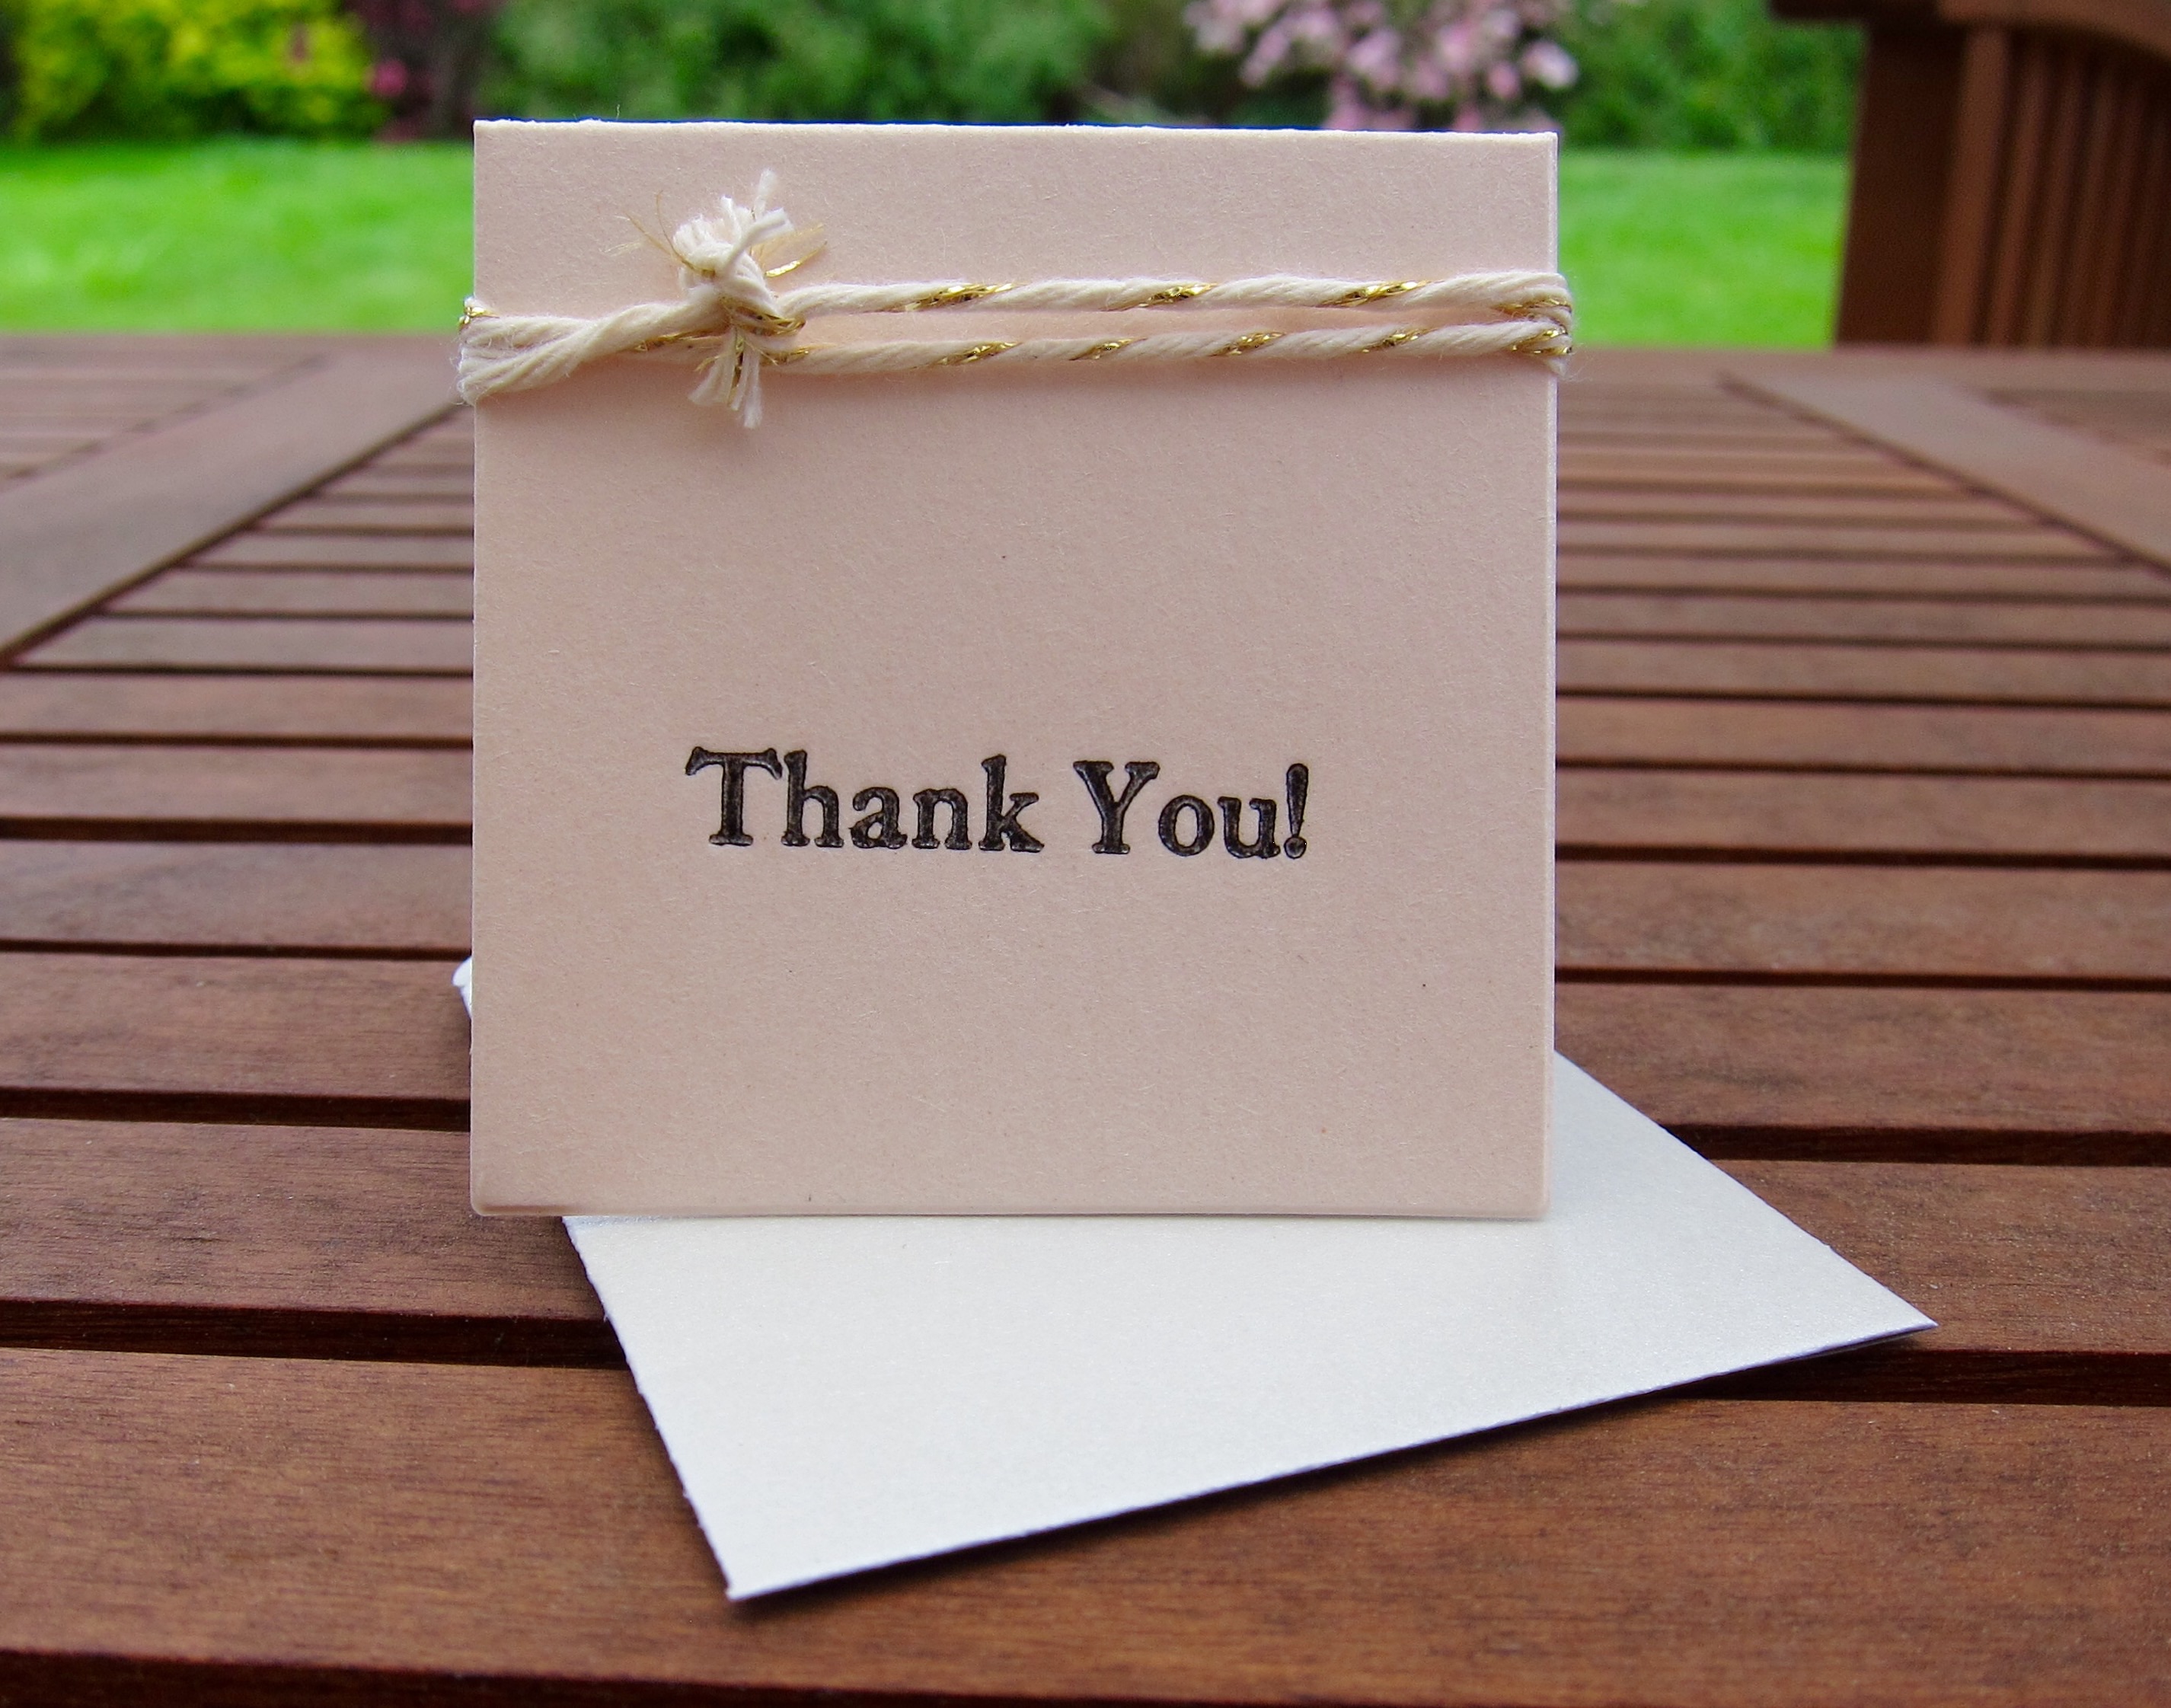
My friend’s daughter is getting married in two weeks! I made cute boxes for her bridal shower and I am making little thank you notes to go with the wedding favors. Each guest will get a stemless wine glass with the couple’s initials in gold. I thought a note in the glass would look great. To make the gold lettering stand out, I made a silver-grey envelope for the thank yous. The cards are a light blush cardstock, with thank you pressed into the front. I tied twine with a gold strand across the top. The inside is layered gold and shimmer white.
The overall look is very elegant and simple.
Letterpressed Thank You NoteInside of the thank you note
Sometimes the best looking cards are the simple ones. I am on a window cut out kick. I will take a normal A2 sized card and cut out a small square on the front of the card. Then I will put a small decorative element inside the card, just a teeny bit smaller than the window I cut out. That is it. Nothing fancy. But somehow it seems elegant to me. Of course I might just be a little biased.
The most recent card uses kraft grey paper, with a small purple flower. The flower was punched with a stamping up whale punch. I adhered a little pink rhinestone in the middle of the flower for a little bling. Everything looks good with a little bling!
This card was quick and easy, but a satisfying project.
I just finished making 150 mustaches on a stick for our upcoming retiree dinner. This event will be so much fun! We have a circus theme and every attendee will get a mustache and a clown nose. These will go great in our photo area, along with our circus animals and strong man bar bell.
I have been just a little stressed out at work recently. A colleague retired and we don’t have a replacement yet. So I am pulling double duty. It has been fun learning, but I need something to calm down my brain when I get home. So I have been using my craft room full of toys to destress my life.
This weekend I opened up a new ink for my letterpress. A beautiful deep purple. I pressed a bunch of “Happy Birthday” tags to use on cards. Once I have a good example I will post a picture!
I also made up some cute construction themed party invitations using the Stampin’ Up set “Fun on Wheels” set.
My friends and I decided we need to spend more time hanging out. So we are instituting a monthly craft day. Every one brings her own project, and the hostess of the month makes a light lunch. Today was our first craft day. Our crafts included knitting a scarf, digital scrapbooking, creating a stash of cards, felting and making party favors. It was a blast getting some work done and chatting.
Lunch was a fabulous home-made white bean and kielbasa soup with fresh bread and pie for desert. Health and delicious!
Ingredients
1 pound dried white beans (such as great northern or navy)
14 ounces kielbasa, halved lengthwise and sliced 1/2 inch thick
4 cups low-sodium chicken broth
1 14.5-ounce can diced tomatoes
1 large onion, chopped
6 cloves garlic, chopped
1 teaspoon dried rosemary
5 ounces baby spinach (6 cups)
Directions
1. In a 4- to 6-quart slow cooker, combine the beans, kielbasa, broth, tomatoes (and their juices), onion, garlic, rosemary, and 1 cup water.
2. Cover and cook until the beans are tender, on low for 7 to 8 hours or on high for 5 to 6 hours.
3. Just before serving, stir in the spinach. Serve with the bread.
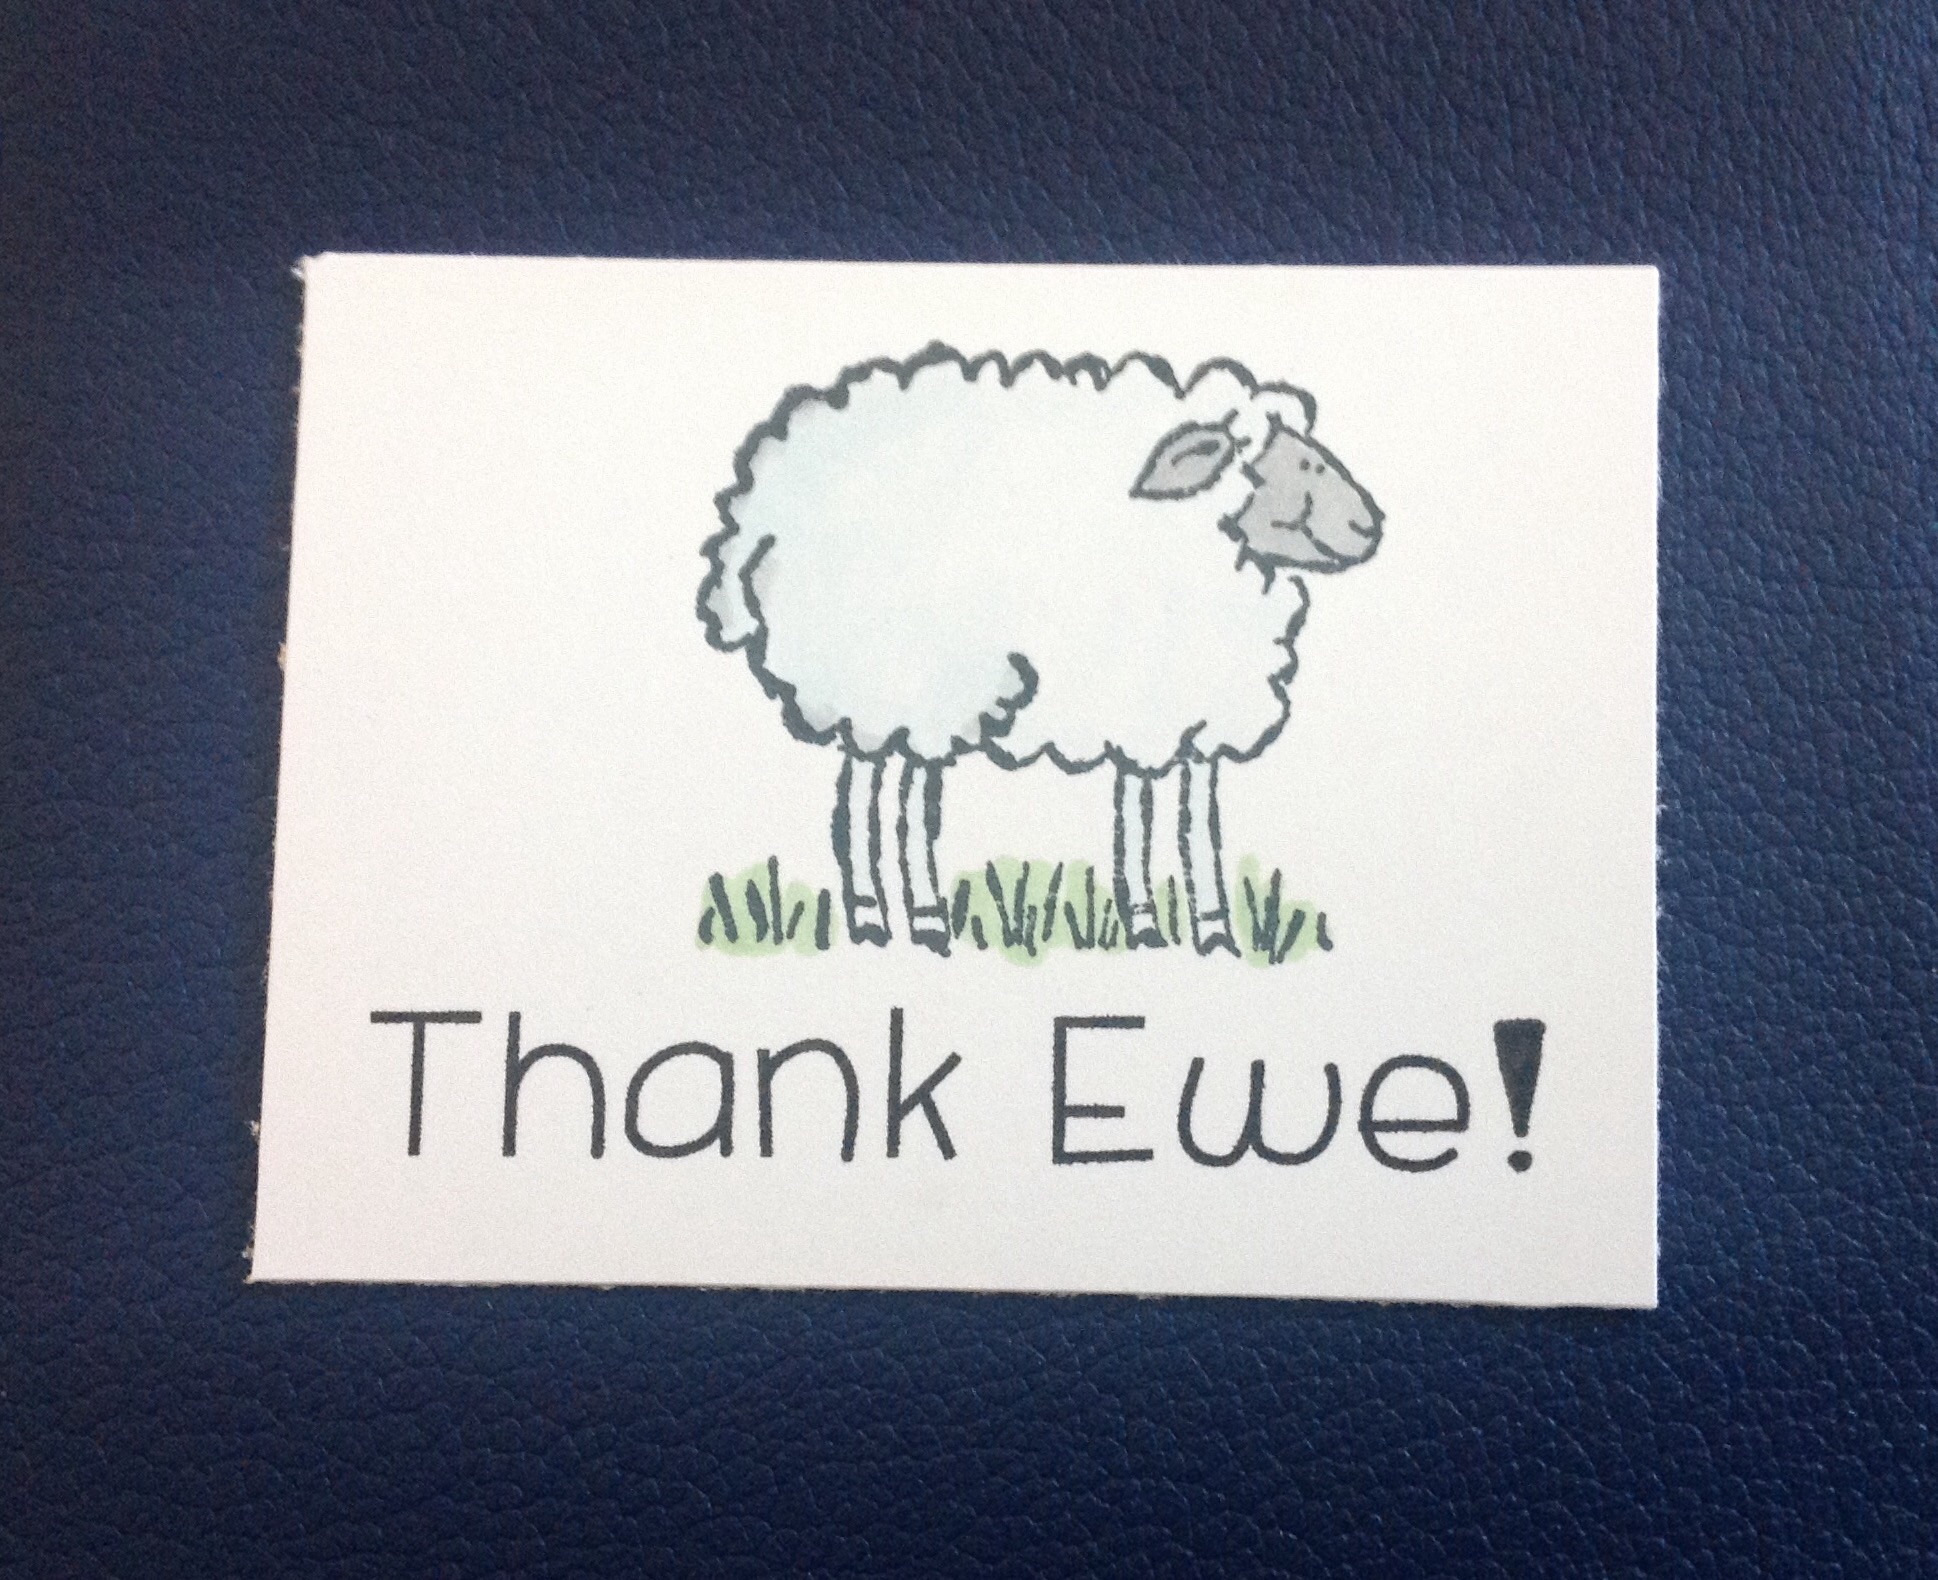
i was working on party favors for my friend’s son’s first birthday. They are having a farm themed party, so cute. The favors will be a small box filled with treats and toys. The boxes will have a little sheep on them with the sentiment “Thank Ewe!” Hoe cute is that!
I used the Stampin’ Up set On the Farm, with black Memento ink and colored the image with Copic makers. The sentiment was printed.
Stampin’ Up! makes the cutest stamps. I buy new sets and used sets and may have even stolen a set from my sister once. I have even bought the same set more than once! I was so excited yesterday because I had four eBay packages waiting for me when I got home.
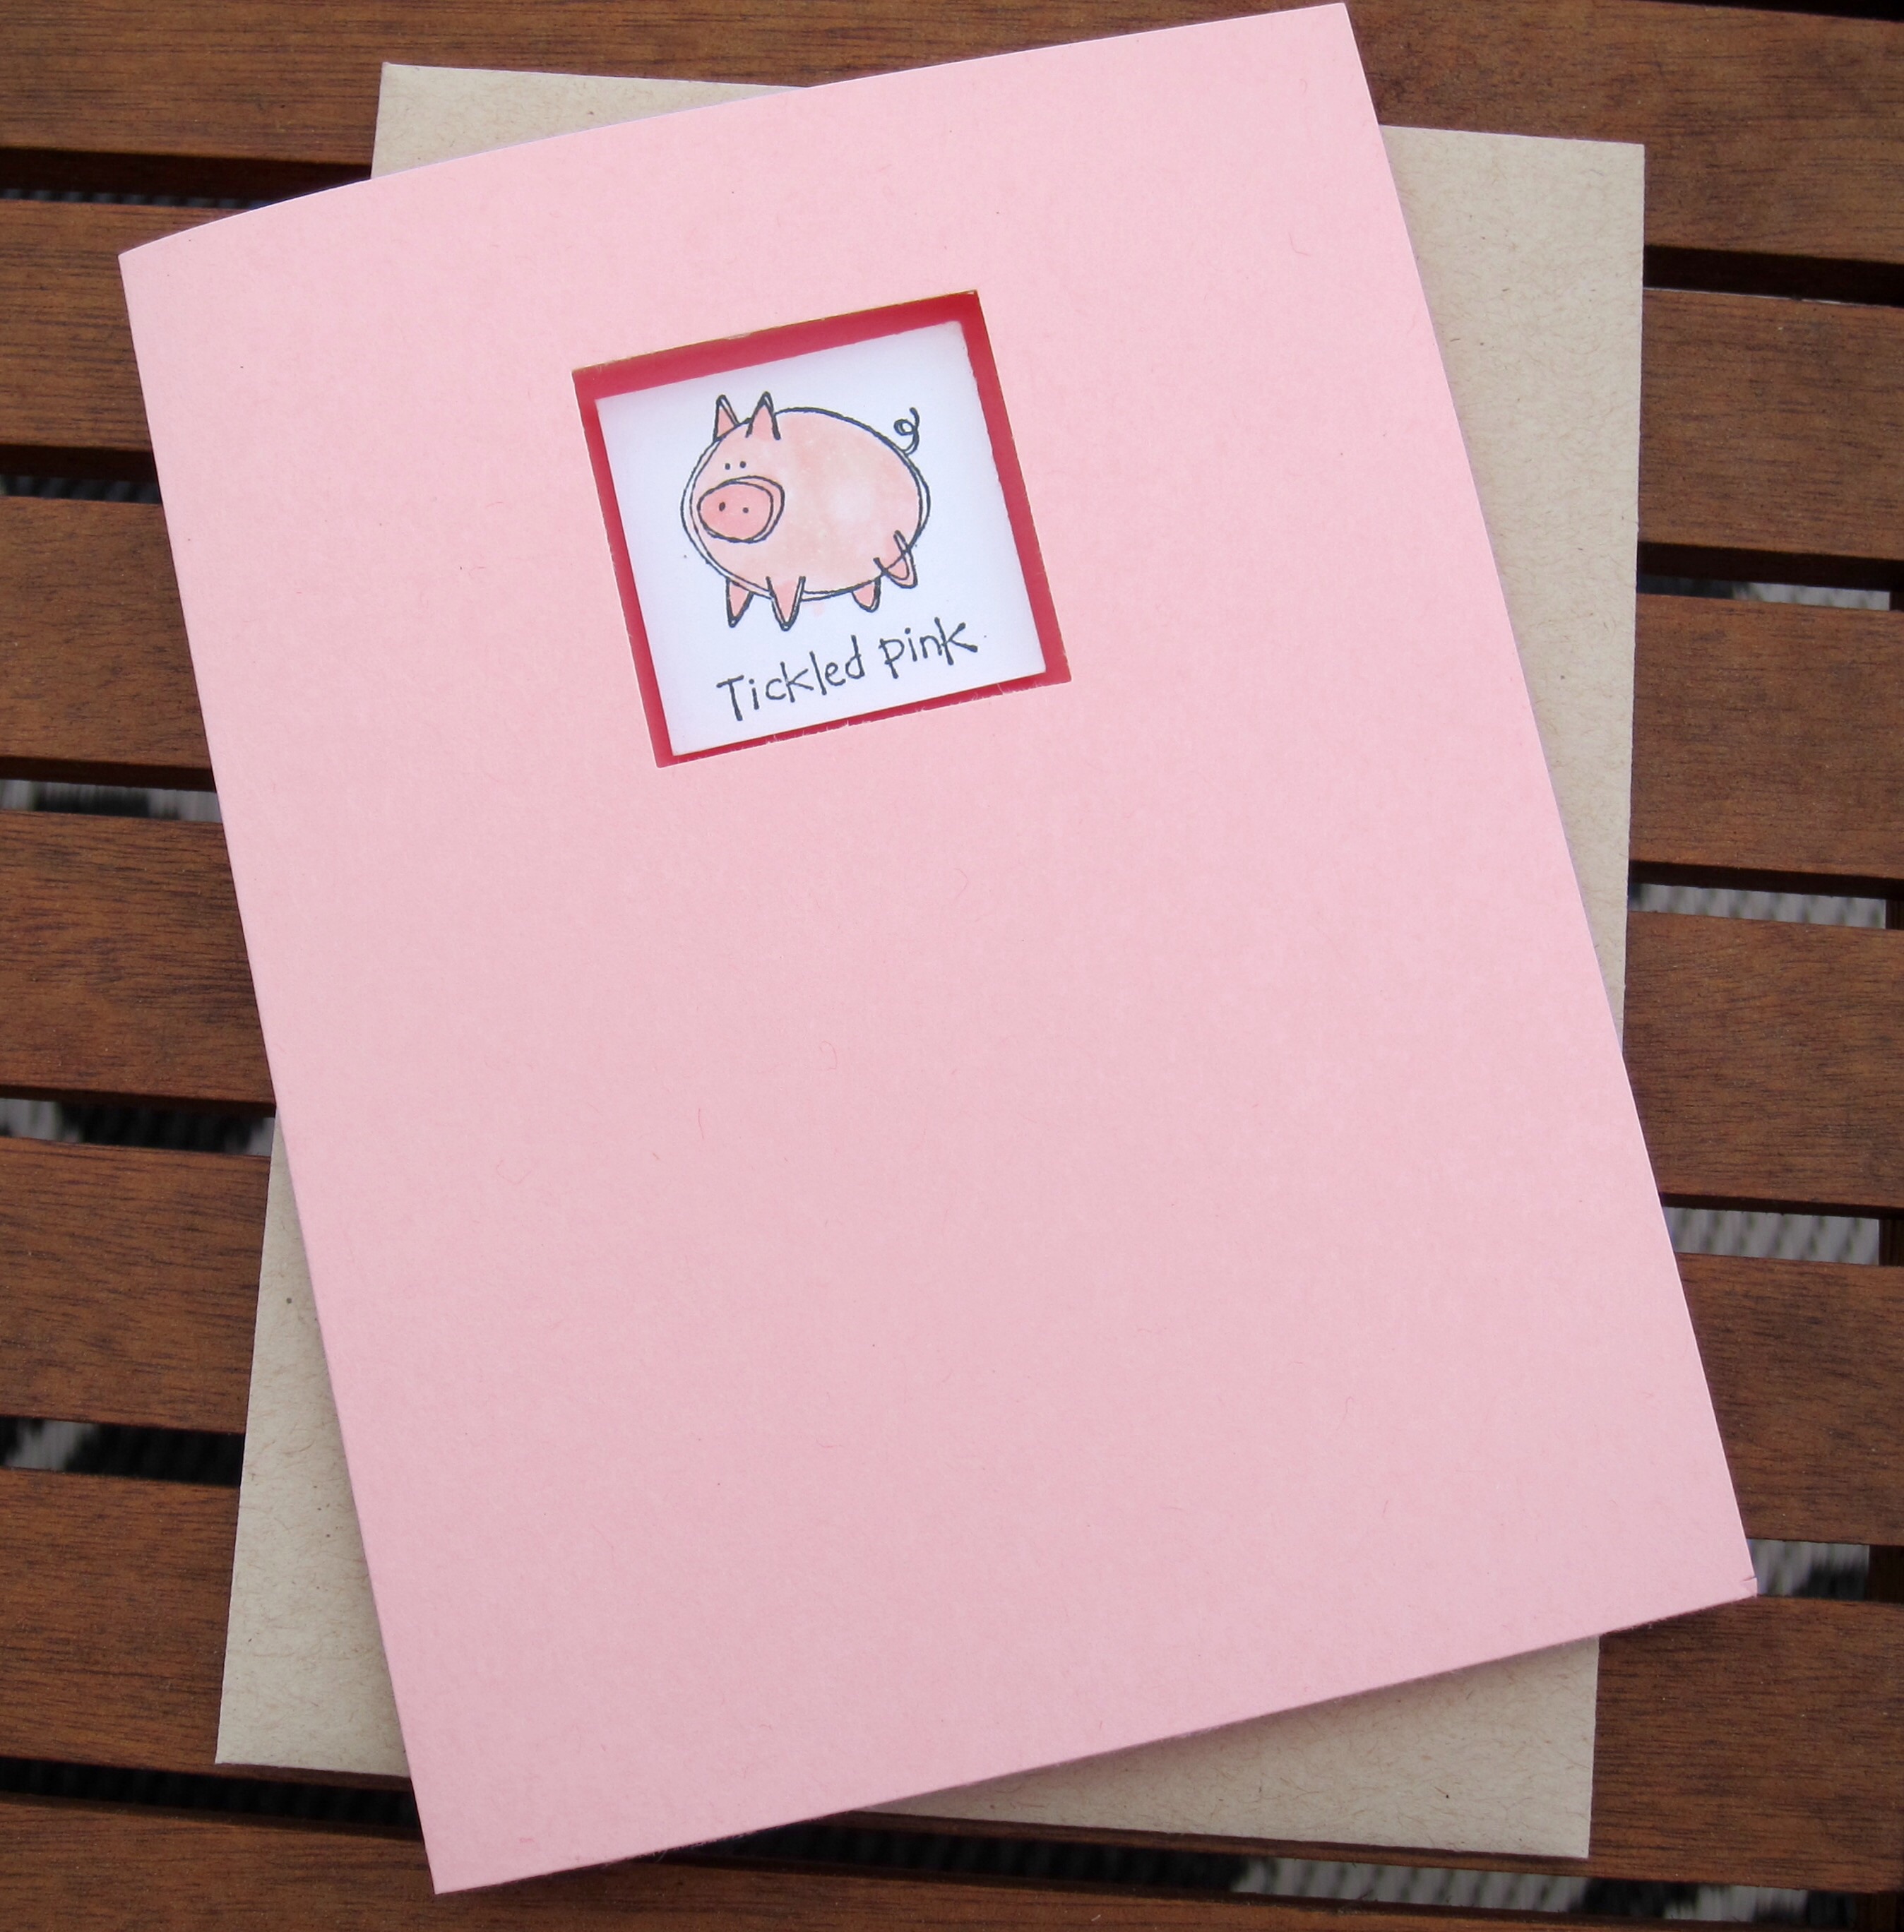
The stamp set Very Punny is fabulous and I had fun putting together this tickled pink card. I stamped the little pig on a white background, colored him with Copic markers, mounted him on a medium pink square and put it all together on a light pink card stock. Hope you like him!
I have a problem. The first step of a program is to admit the problem. I fully admit I have an obsession with Copic markers. I am not ready for treatment.
Copic markers are alcohol based markers that are blendable. This allows you to use multiple hues of the same color to add depth to your art work. I really enjoy stamping a cute image and then adding color to make it pop!
For this project I used a Stampin’ Up stamp with Memento black ink. I cut a small square out of the front of the card, matted the cute dog on a slightly bigger brown square with foam to add dimension. It is a very simple card, but perfect for a quick note to cheer up a friend.
Valentine’s Day will be here before you know it. Remember when we were little and gave every kid in our class a Valentine? Why stop now, just because we are adults?
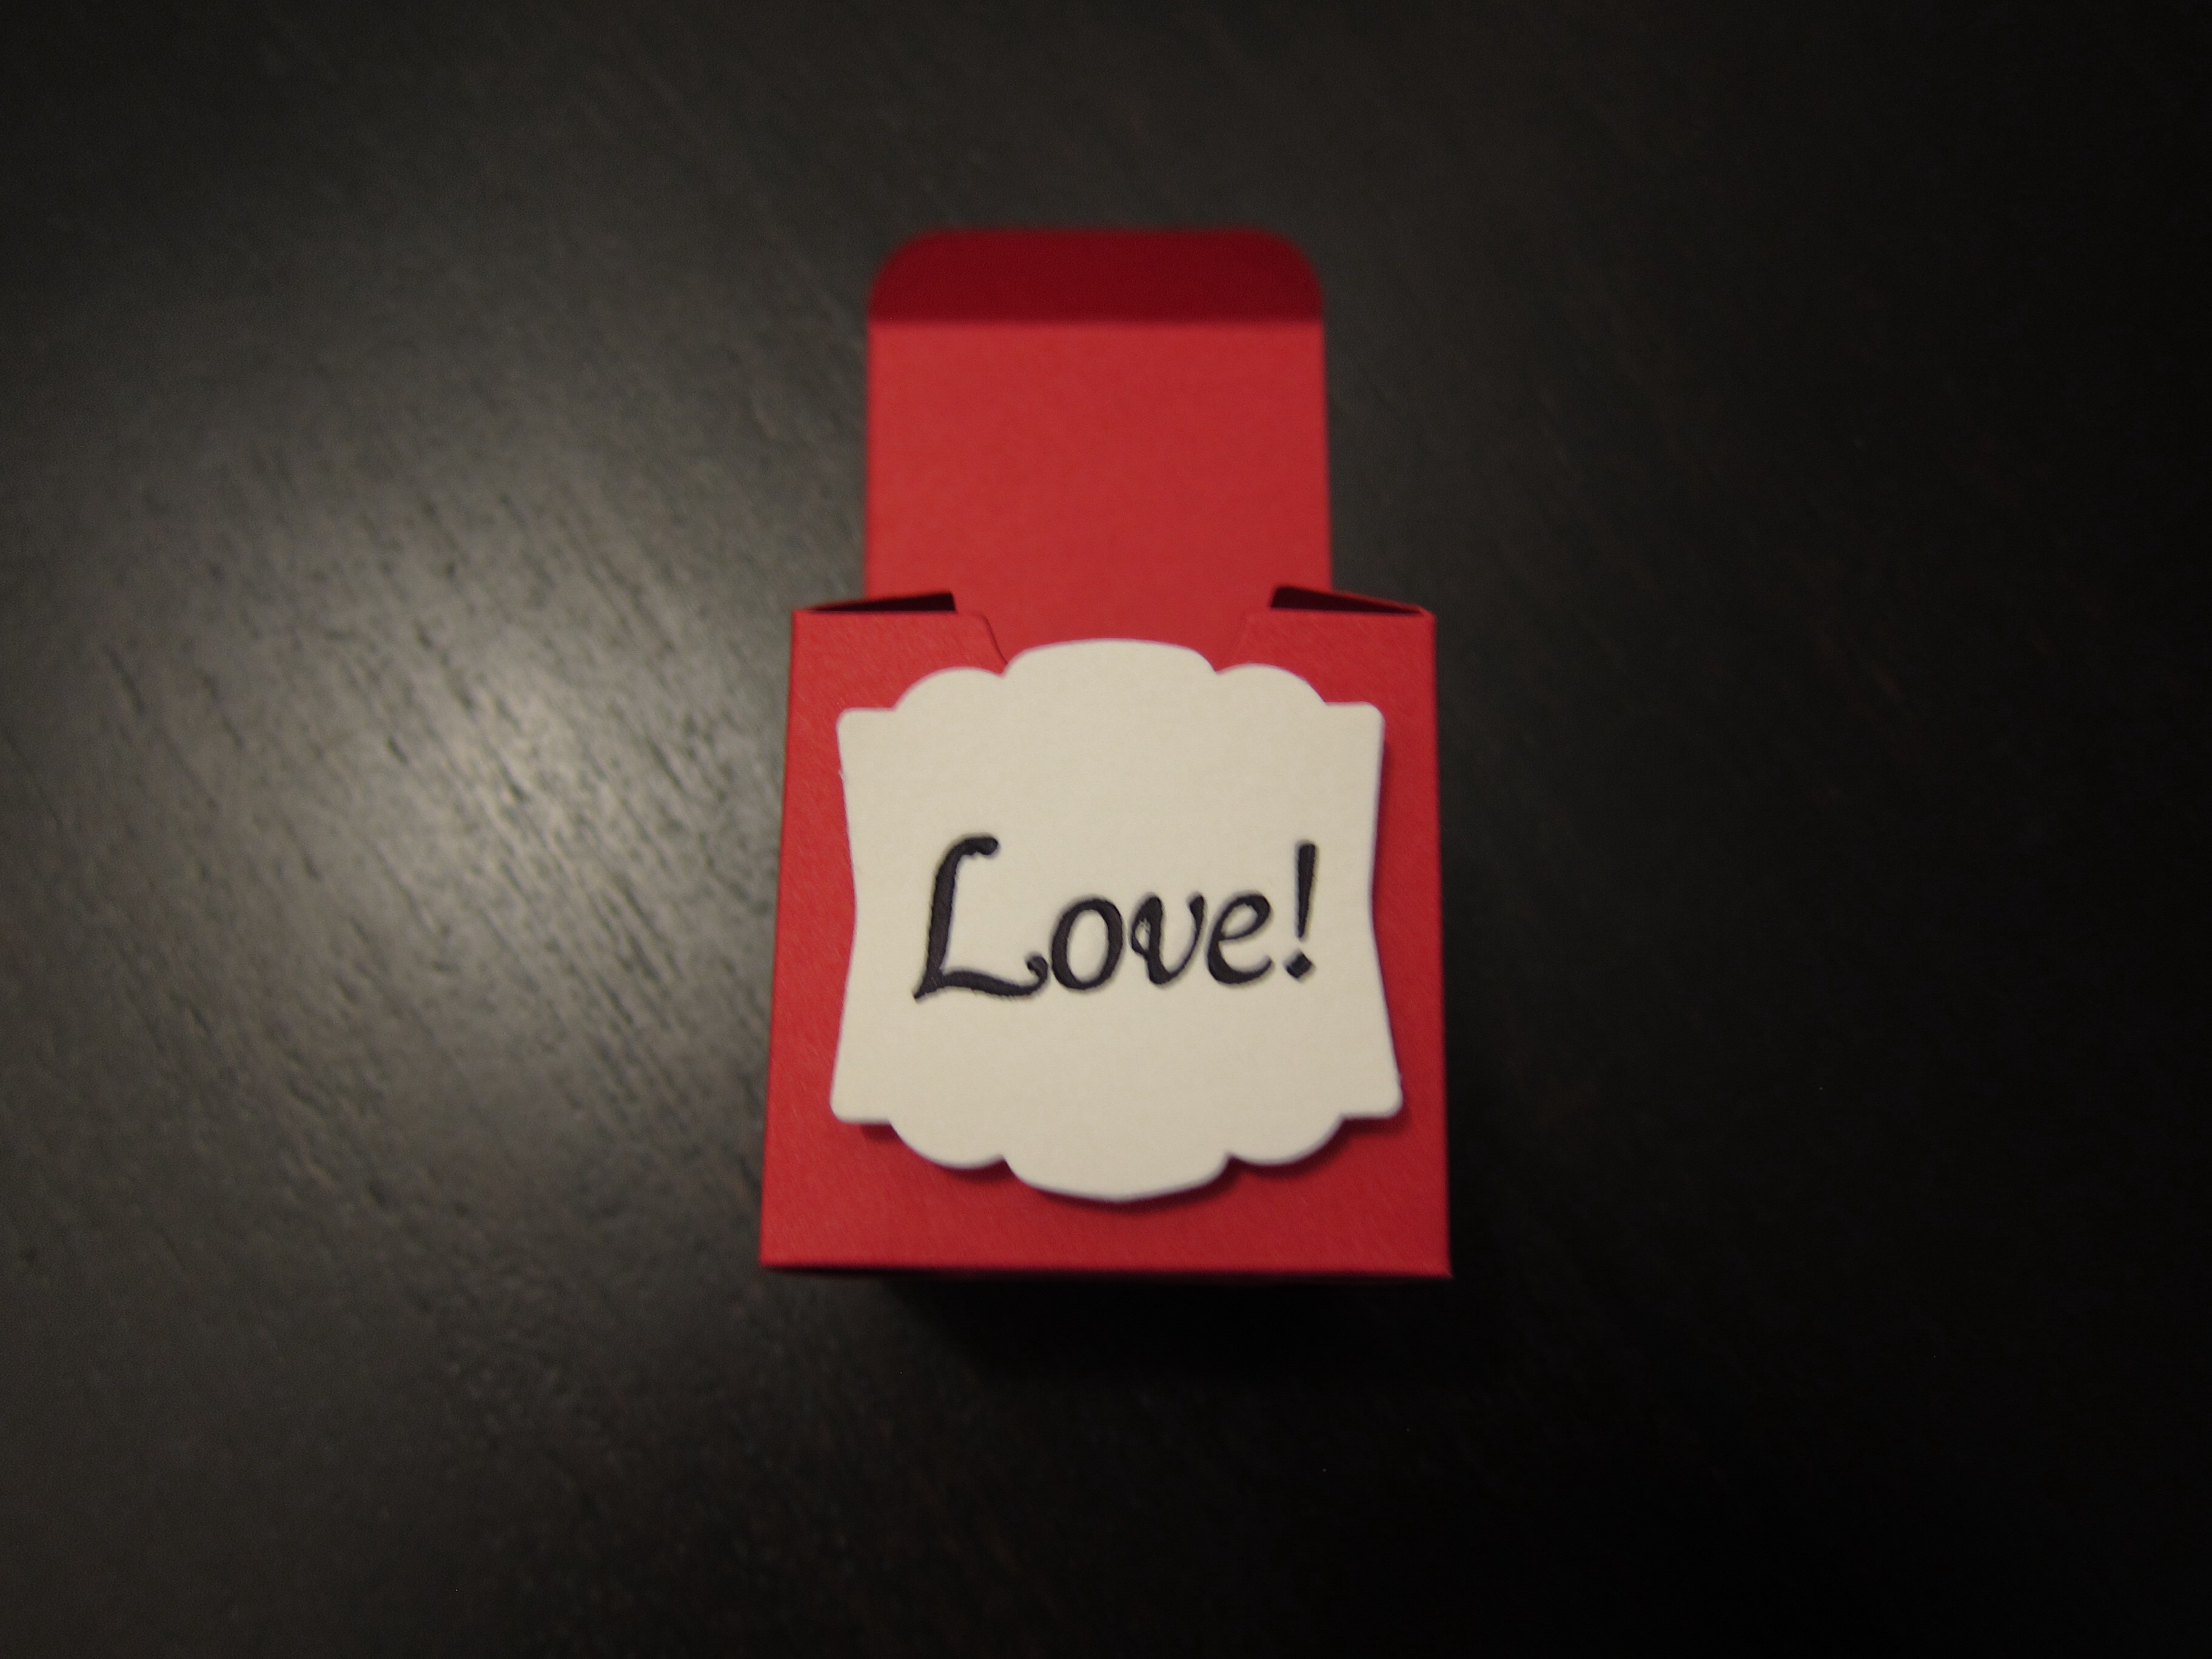
This year I made little treat boxes that are just under two inches. I am still trying to decide what to put in them. More likely than not, it will be something chocolate. Yum!
Letterpresses Treat Box
First I used my letterpress to print the word love on thick cotton cardstock. Used a punch to cut out the label and used my Accucut Grande Mark die cutting machine to cut out the box.
I love the weekend! This is when I get to be creative and use all my crafting toys. Last night I decided to get dirty…
That means Letterpress! Letterpress is dirty work because you have to get inked up. First you scoop out ink with you ink knife. You work your ink a bit with the knife and then dab it on the letterpress ink disk. The letterpress rollers go over the disk to collect a thin layer of ink and then rollover the blocks and letters to deposit the ink. I can not do this process without getting ink all over me, no matter how hard I try.
So what did I make? Cute mini notecards with an ordinary bicycle (AKA old fashioned bicycle or a penny farthing). The cards are 2.25 by 2.25 and are printed on Lettra cotton cardstock with brown black ink. I then made mini envelopes to match out of craft colored card stock.
Mini notecards with a cool letterpressed penny farthing bicyclePenny Farthing mini note with envelope
I hope you have a wonderful 2015! I know I will, because I will be making time to do the things I love; spending time with my husband, snuggling with the dog and crafting.
Earlier in 2014 I bought a Kelsey Excelsior 5 x 8 letterpress machine. This antique machine was made sometime between 1893 and 1928, based on the patent number. How cool is that! I have vintage printing blocks and several alphabets for pressing images and words. I am still learning how to use it, but I am hooked.
Kelsey Excelsior Letterpress Machine
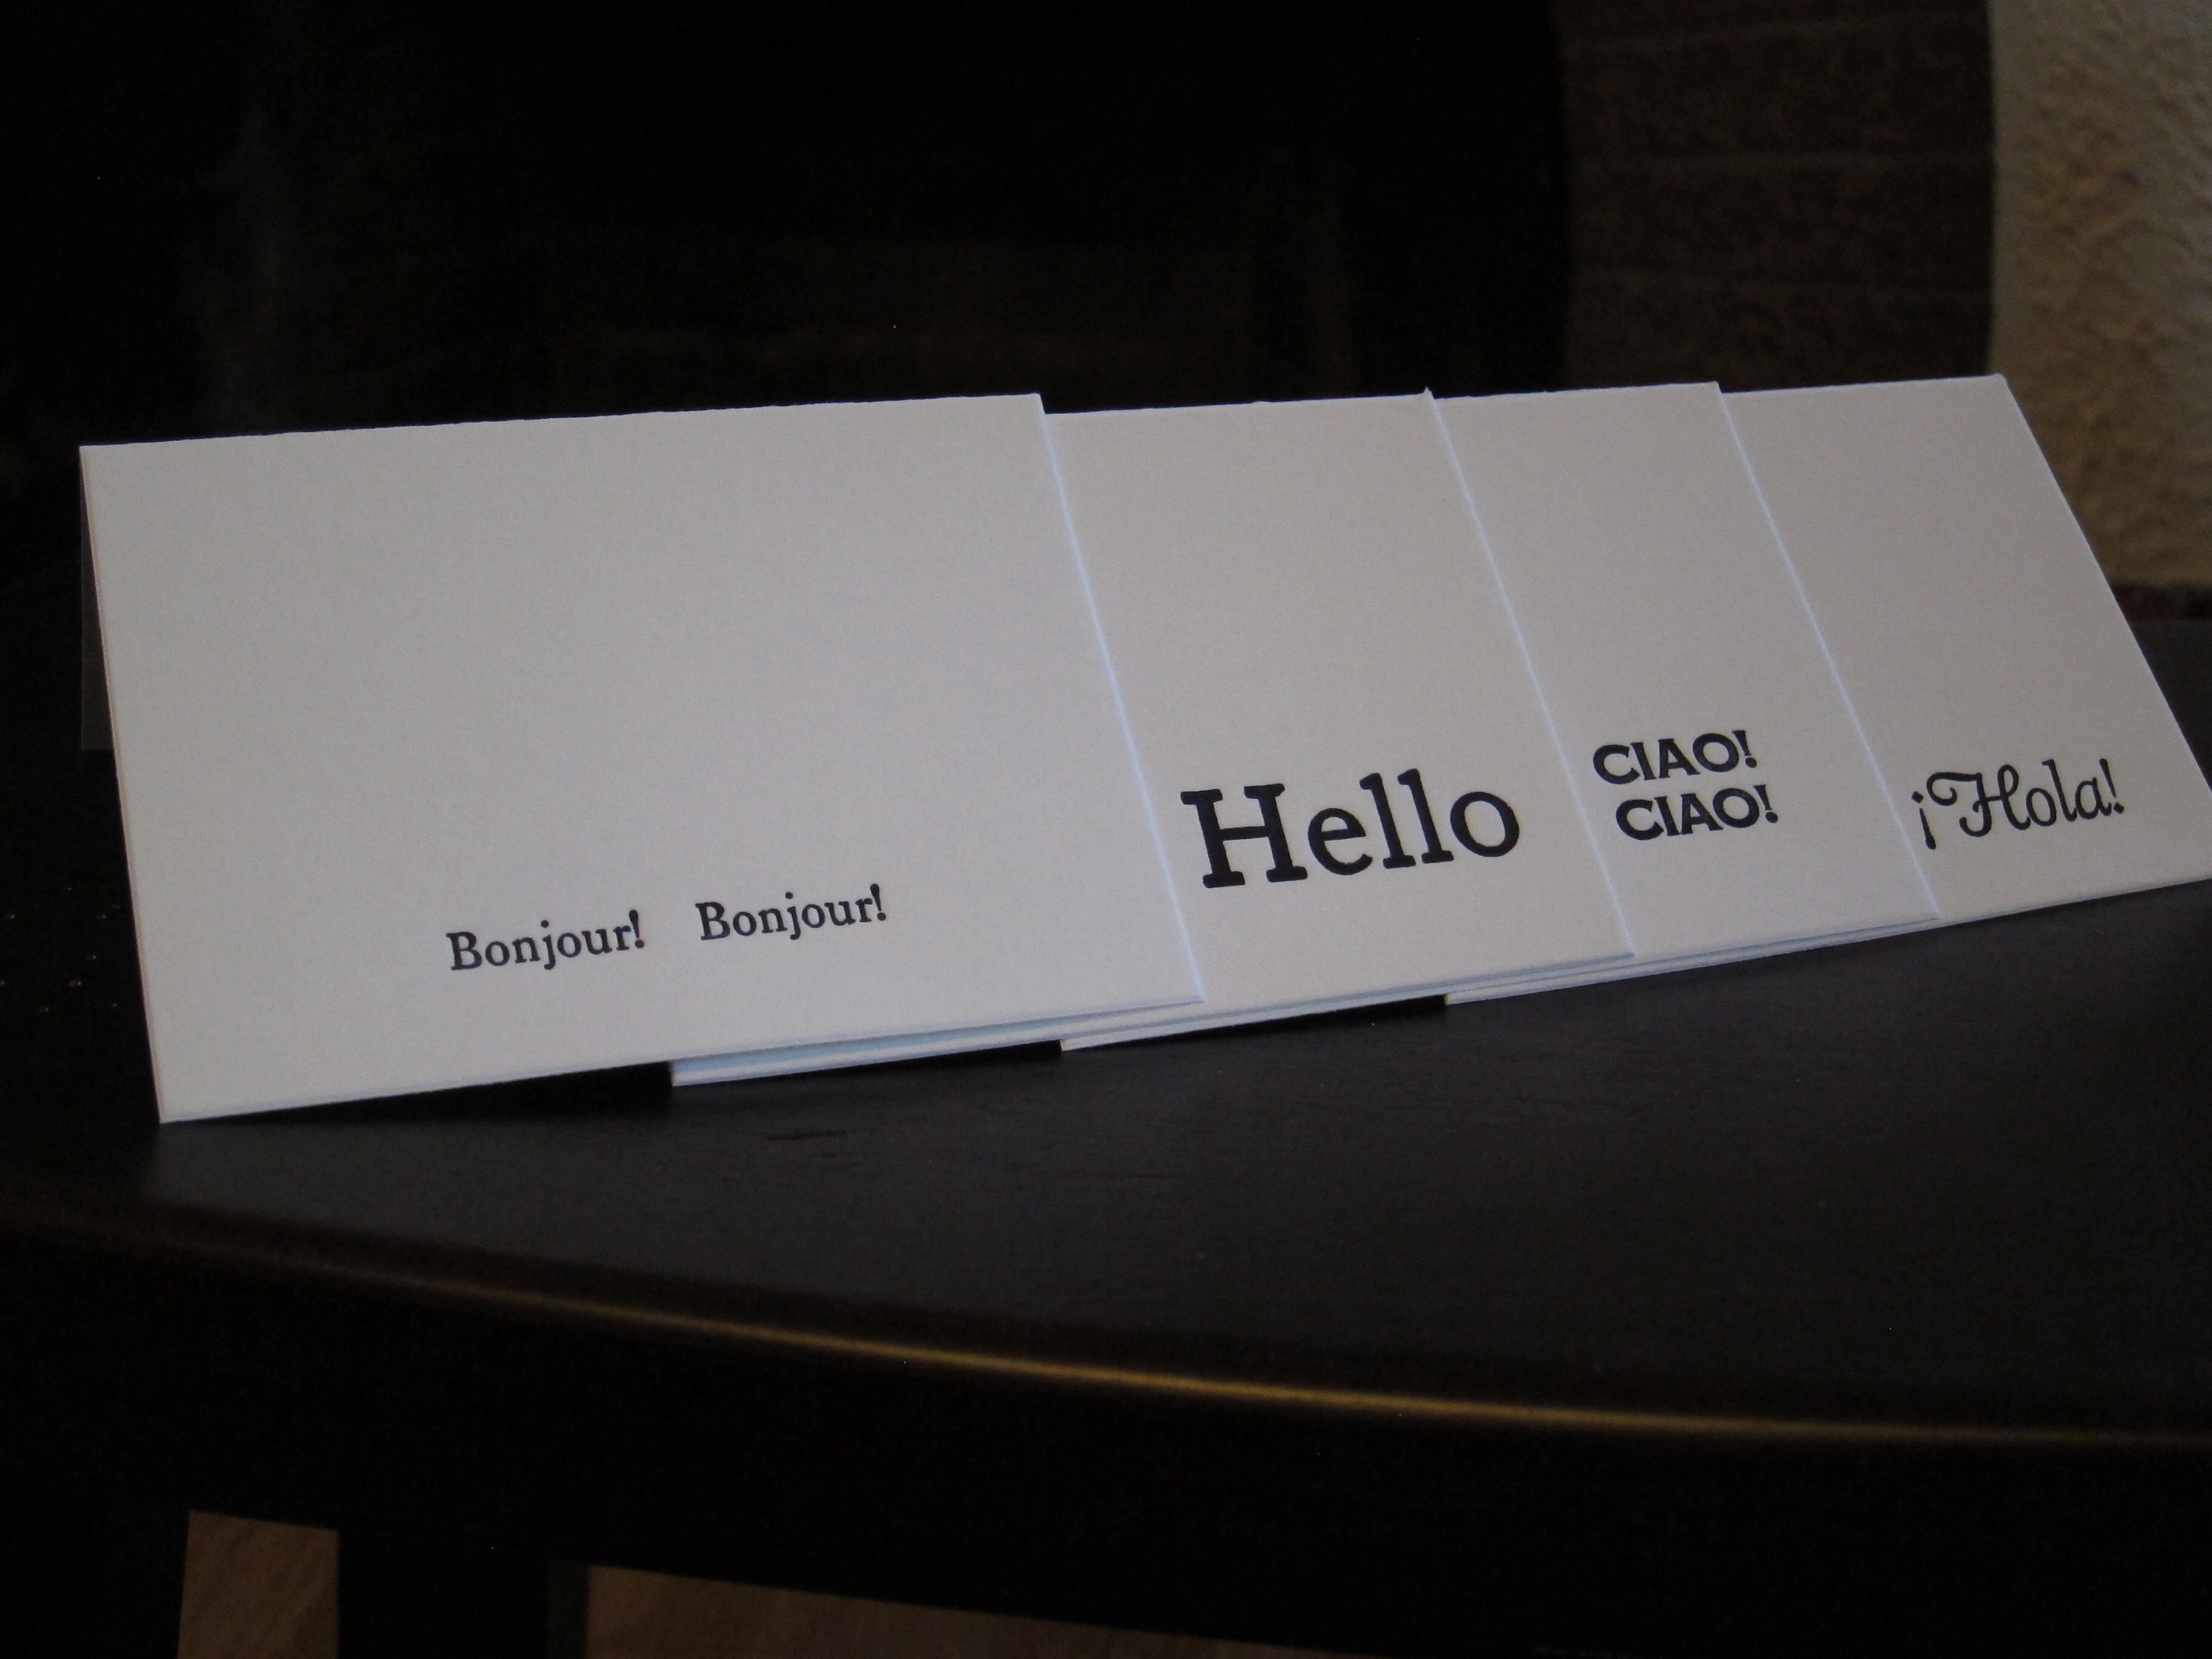
I was lucky enough to have five days off over Christmas, so I played. I made a bunch of little note cards that said:
Hello
Hola
Ciao
Bonjour
International Hello Letterpress Notecards
I used Crane Lettra cotton cardstock and a midnight blue ink. Next step, send all my friends a card!
I would love to hear about projects you are working on; leave a comment and let me know!