All posts by letterpressdog

I have been addicted to paper crafts forever now. I recently got into letterpress and have a Kelsey 5 x 8 and a Golding Jobber #6 from 1881. Just for fun I started an Etsy shop to sell some of my extra creations: www.etsy.com/LongDogLetterpress I hope you have fun reading my blog. Please leave feedback!

Chicago is Awesome!

I just took a vacation and was lucky enough to go to Chicago.  What a beautiful city.  I only had two days there, but they were well spent.  First we hit the Taste of Chicago.  Really tasty food vendors set up in Grant Park.  We tried Bacon Mac n Cheese, Pulled Pork BBQ Sandwiches, Rattlesnake Sausage, and the best Funnel Cake ever.

After that feast, we went to dinner at Pizza Rustica close to Wrigley Field.  After dinner, we walked down to the field and got to see a great game – Cubs v. Cardinals.  The game was a nail biter and the Cubs lost at the end of the 9th inning.  What a game.

We spent a whole day at the Art Institute.  What a way to get inspired.  Unfortunately, I don’t have that kind of talent.  We had to have pierogi while we were in Chicago, so we went to Pierogi Heaven and we tried 6 different kinds of pierogis – meat, spinach, mushroom, mushroom and kraut, potato and cheese and potato and cheddar.  Totally yummy (and boy was my Polish husband jealous).

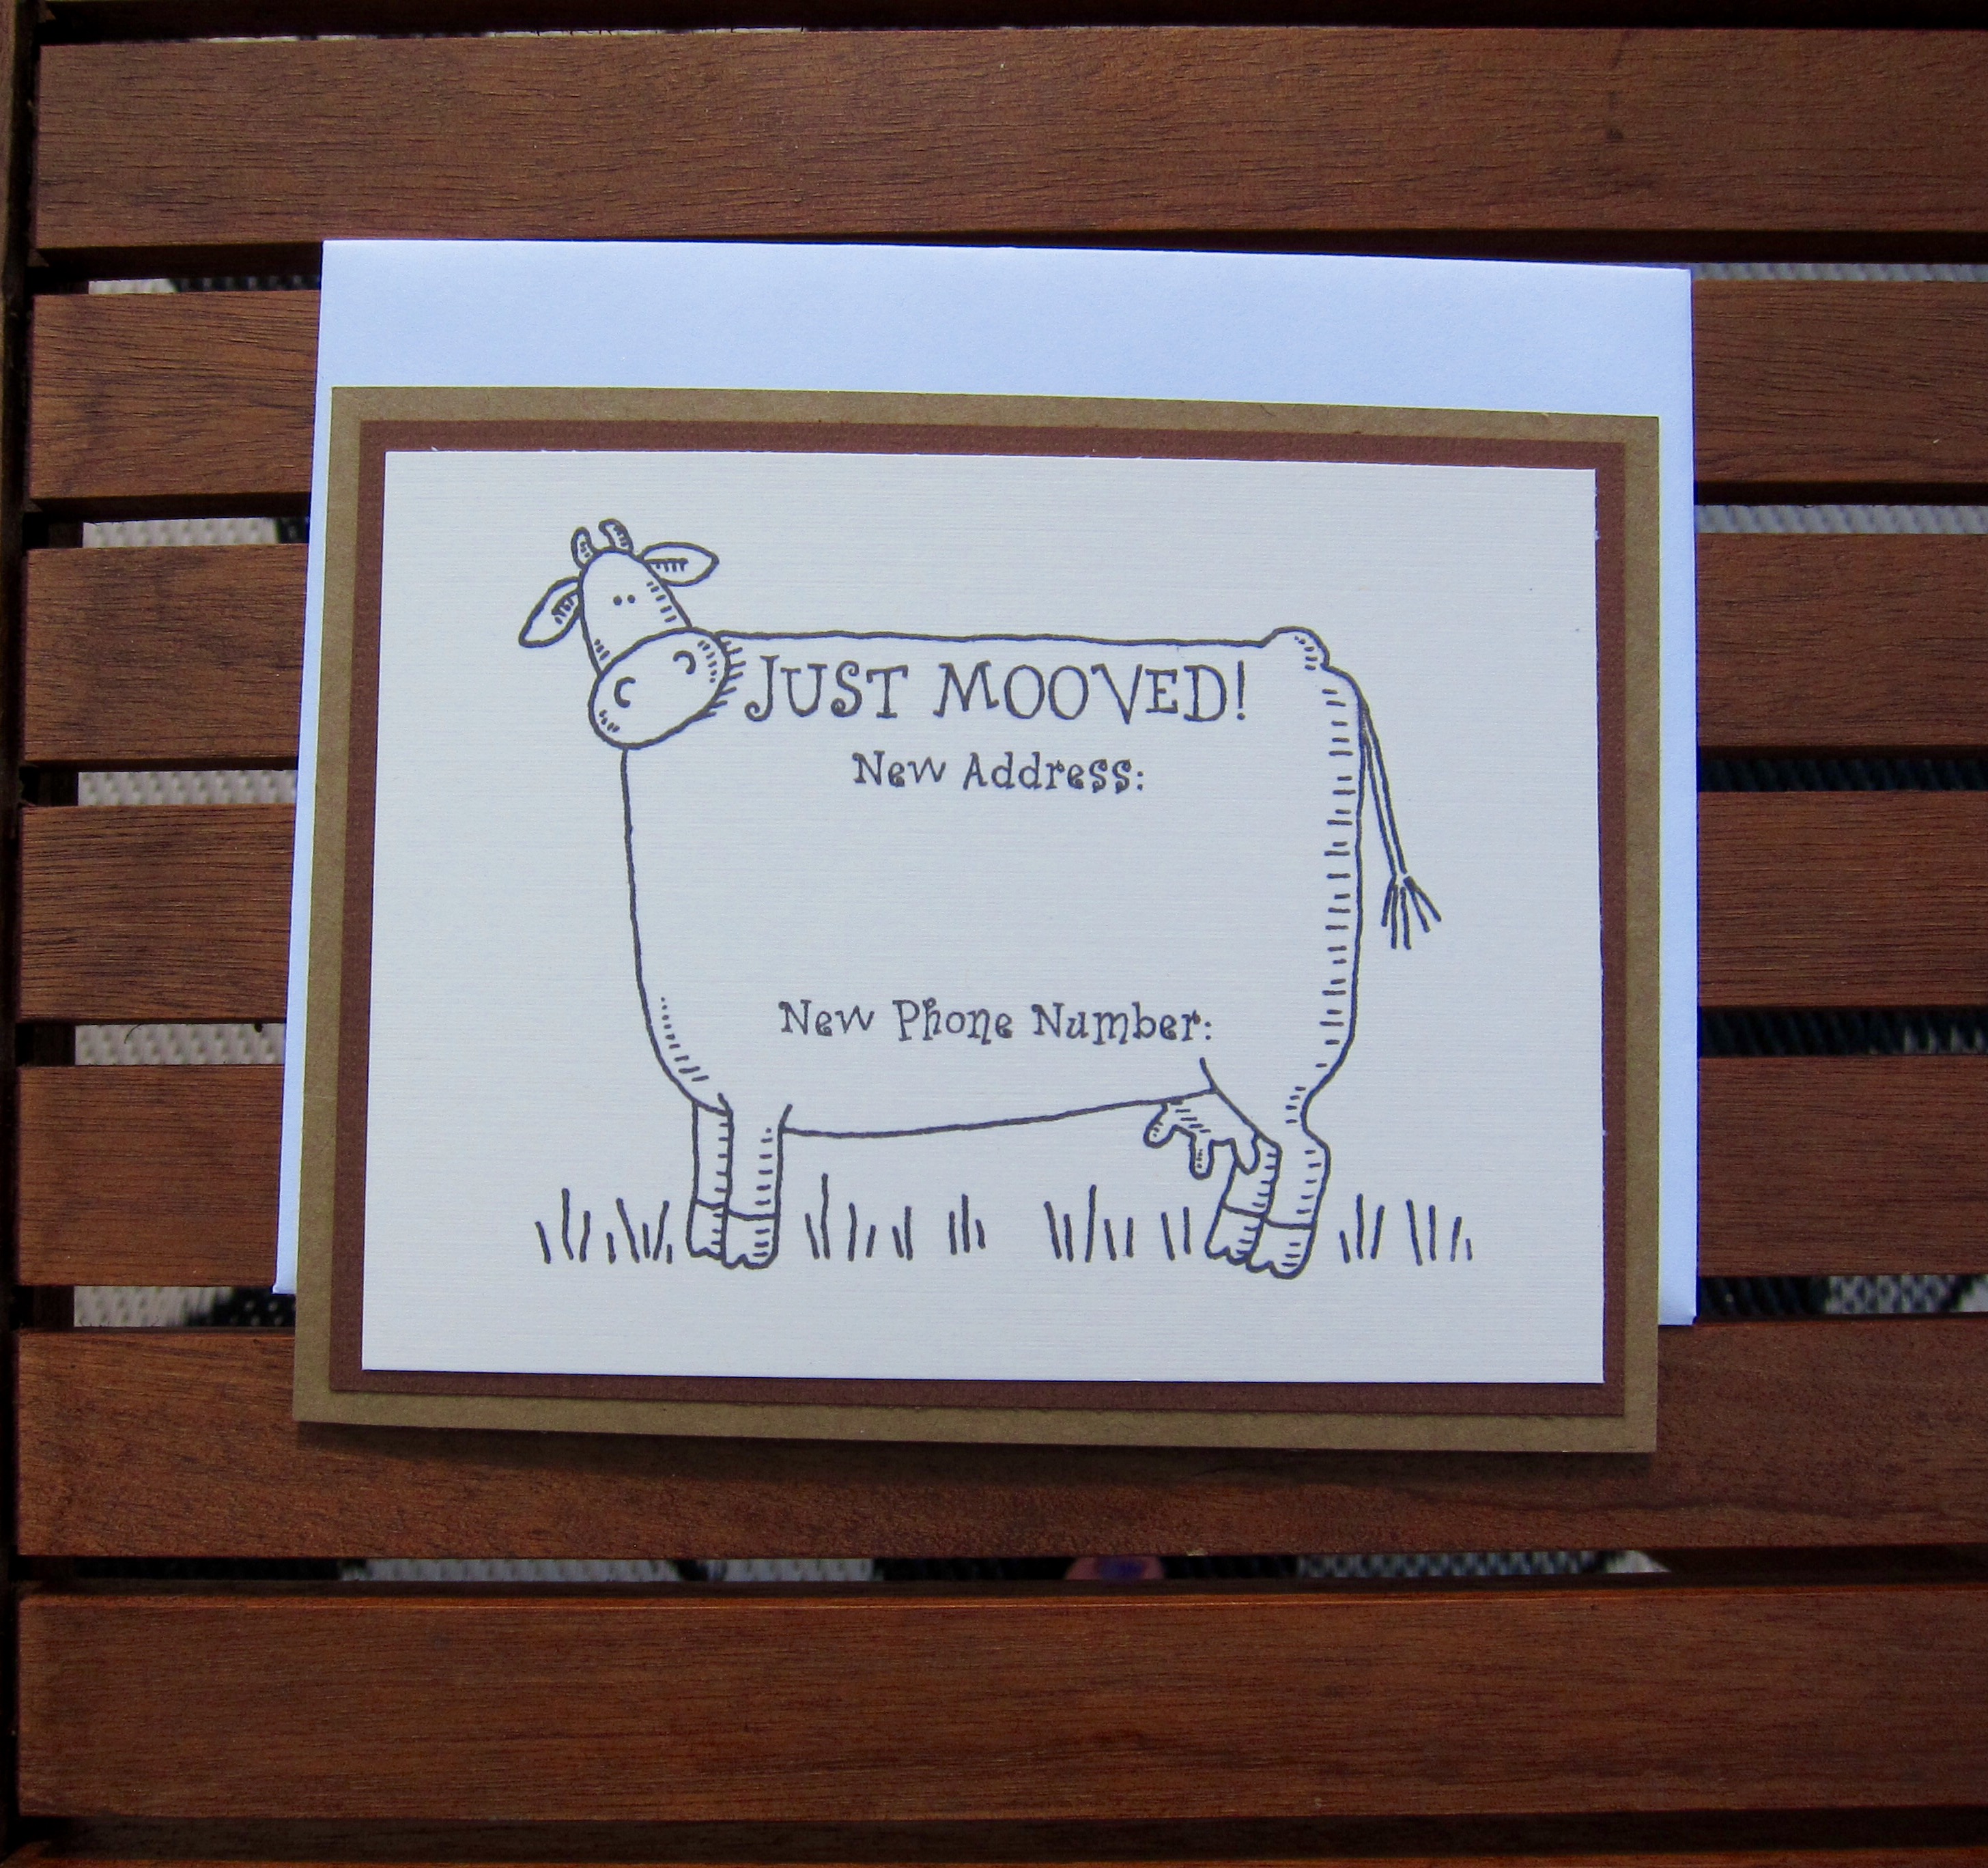
Now that I am back, I had to do something crafty.  We have new neighbors, so i got a bunch of goodies at Trader Joe’s and made up a few change of address cards.  I used a retired stamp from Stampin’ Up!  Very cute!

Just Mooved!
Just Mooved!

New Toys for the Long Weekend!

Yesterday I got a beautiful white box filled with fun.  I ordered a button maker off of Easy from Button Boy Inc.  This cool machine makes various types of buttons and badges, also known as flair.  I was so excited that unpacked it before I did anything else.  My box included the Tecre one inch button maker, a paper punch to get the graphics the right size and all the supplies to make 1000 flat backed buttons/badges.  I was a bit disappointed because the box did not include the magnets I ordered.  I sent off a quick email – so we will see how the customer service is at Button Boy.

I am still getting the hang of using the button maker, but the process is quite easy.  Choose an image and punch it out.  Try to get the main part of the image in the exact center of your circle.  Then place a shell in the little well on the machine, cover with the graphic, add a thin mylar (plastic) sheet, turn and press.  In the other well, add your back.  This is the part that my magnets were needed.  I bought magnets that can fit into the back.  This way you have a magnet enclosed in your button instead of sticking out the back.  I’ll have to let you know how it goes once I get the magnets.  After you have pressed the graphic part, swivel the die around and press the back onto the first piece.  And you are done!  Quick and easy.

Once I get my magnets, I will add a blog with a picture.

In the meantime, I am still all about the cards-in-a-box.  I made a birthday card and liked it so much, I made a second one with a different sentiment to send to my mother-in-law!  This was made with Accucut dies and a couple of regular Bo Bunny buttons.

Die Cut Flowers - Card-in-a-Box
Die Cut Flowers – Card-in-a-Box

Something So Simple…

You know that they say the best things in life are free.  I believe that the best things in life are simple.  It can be as simple as sharing a meal with friends or just chatting away and enjoying the company.  Or it can be creating something simple.  In case you haven’t guessed it by now. I like simple cards and crafts.  I like complex cards, too, but the is just something so nice about a simple card.

For this card I used basic kraft colored paper, a punch from Stampin’ Up and a small flower stamp.  The bright orange really pops on the card and the ink is a perfect match for the card.  I love this card and I am not ashamed to say so.  I hope you like it too!

Boho Style Card
Boho Style Card

Who Wants a Treat?

I really should have spent the afternoon cleaning my craft room.  Next Saturday, I am having some friends over to craft, have fun and eat!  Sounds like a good day, doesn’t it?  Well, before my friends come over, i will need to clean up.  Not just the front rooms, you know, the living room, bathroom and kitchen.  But the craft room too.  Usually, I just wouldn’t let anybody go upstairs.  Just like when I was a kid and threw everything in the closet and called it clean.  No, I have to clean upstairs, too.  My friends will want to see my stash of cool papers, die cuts and assorted machines.  I wouldn’t want to disappoint anyone.

So what did I do instead? I made really cute treat boxes.  I don’t know why I went with a baby theme, but I did.

Baby Girl Treat Box

Open Treat Box

Baby Boy Treat Box

Memorial Day Fun

Last weekend was absolutely beautiful.  So  we spent a lot of it walking around town checking out all the cool houses.  I walk a lot slower than my husband, so he needs to have something to look up on his phone while we walk.  So every cool house gets looked up on Zillow – the square footage, number of rooms, bathrooms, when it was built and anything else listed.  I try to guess the price and am never right.

On Monday, after our walk, I thought I should make something patriotic.  So I pulled out my vintage heart flag letterpress block and got to work.  I pressed the heart in blue ink on white Lettra Crane cotton paper.  I used Sizzix nested squares to cut out the flag, red mat and window.  I really liked how they turned out.  Hope you like it!

Patriotic Heart Flag Card

Still Loving Cards-in-a-Box!

My friend at work has a husband.  He has a birthday in May.  After showing her the card-in-a-box I made last week, she asked me if I could make a card for her husband.  I said YES!  What else would I say?

Awhile ago I bought a really cute stamp set on ebay.  The set included a few planets, a rocket and a mini astronaut. I had been planning a card with the astronaut floating above the earth and using the sentiment, “you’re out of this world.”  The card-in-a-box was the perfect way to put this plan into action.  Black cardstock with black sparkle paper made the best space background.  Check it out!

You're out of this world!
You’re out of this world!

My friend said her husband loved his card.  She thought he may have liked the card even more than his gift.

Card-in-a-Box!?! Very Cool

As I have said at least a million times, I love die cuts!  There is just something wonderful about taking a plain card or a box die, choosing just the right paper and rolling it through the Accucut Grande Mark or Sizzix Bigshot.  You have the perfect base to do something incredible.  Or sometimes you really miss the mark and have to start all over.  And you can, because you have the die cut.

I used to send all my flops to my mother.  She didn’t care what the card looked like, she was just happy to hear from me.  She passed away a few years ago, and my pile of flops has grown.  Every time I create something that isn’t quite right, I think of my mom.  Weird, I know, but at least there is something positive that comes out of these flops!

My newest die is for a card-in-a-box.  It has all the cut and score lines, so you don’t have to measure a thing.  I also recently got a Sizzix thinlets die set with coordinating stamps.  The flowers in the set are lovely! I used Copic markers to hand color each of the flowers, the bees and ladybugs.  The happy birthday sentiment was letterpressed with purple ink.

This card certainly wasn’t a flop; my mother would have loved it.

Spring flowers burst out of this card-in-a-box!

The Wedding is Today…

If you have read my last couple of posts, you will see a trend of me helping my friend with a few items for her daughter’s wedding. The wedding is today! On Friday I finished up the last few items. She asked me to put together some dessert menus. So I did!

All the desserts sound so tasty!

The burnt sugar and blood orange cream puff would be to die for. I really hope there are left overs.

Please send positive thought to my friend’s daughter for a long and happy life with her new husband!

Letterpress Sunday

I recently bought an antique 8 x 12 letterpress machine.  It is a beautiful 1881 Golding Jobber #6.  To get it going you push the fly-wheel and then use the foot treadle to keep it going.  It is 1200 pounds of cast iron and she works like a dream.  It is amazing how well this is built.  My press is similar to the one below:

Letterpress
Letterpress

On Sunday my friend Rachel and I put it to good use.  We hand set type, used my die cutting machine to cut out A1 sized cards, locked up the chase, inked the plate and made some cards.  We had a great time playing with my toys!

Choose your own themed card

Say Thank You with Style!

My friend’s daughter is getting married in two weeks!  I made cute boxes for her bridal shower and I am making little thank you notes to go with the wedding favors.  Each guest will get a stemless wine glass with the couple’s initials in gold.  I thought a note in the glass would look great.  To make the gold lettering stand out, I made a silver-grey envelope for the thank yous.  The cards are a light blush cardstock, with thank you pressed into the front.  I tied twine with a gold strand across the top.  The inside is layered gold and shimmer white.

The overall look is very elegant and simple.

Letterpressed Thank You Note
Inside of the thank you note