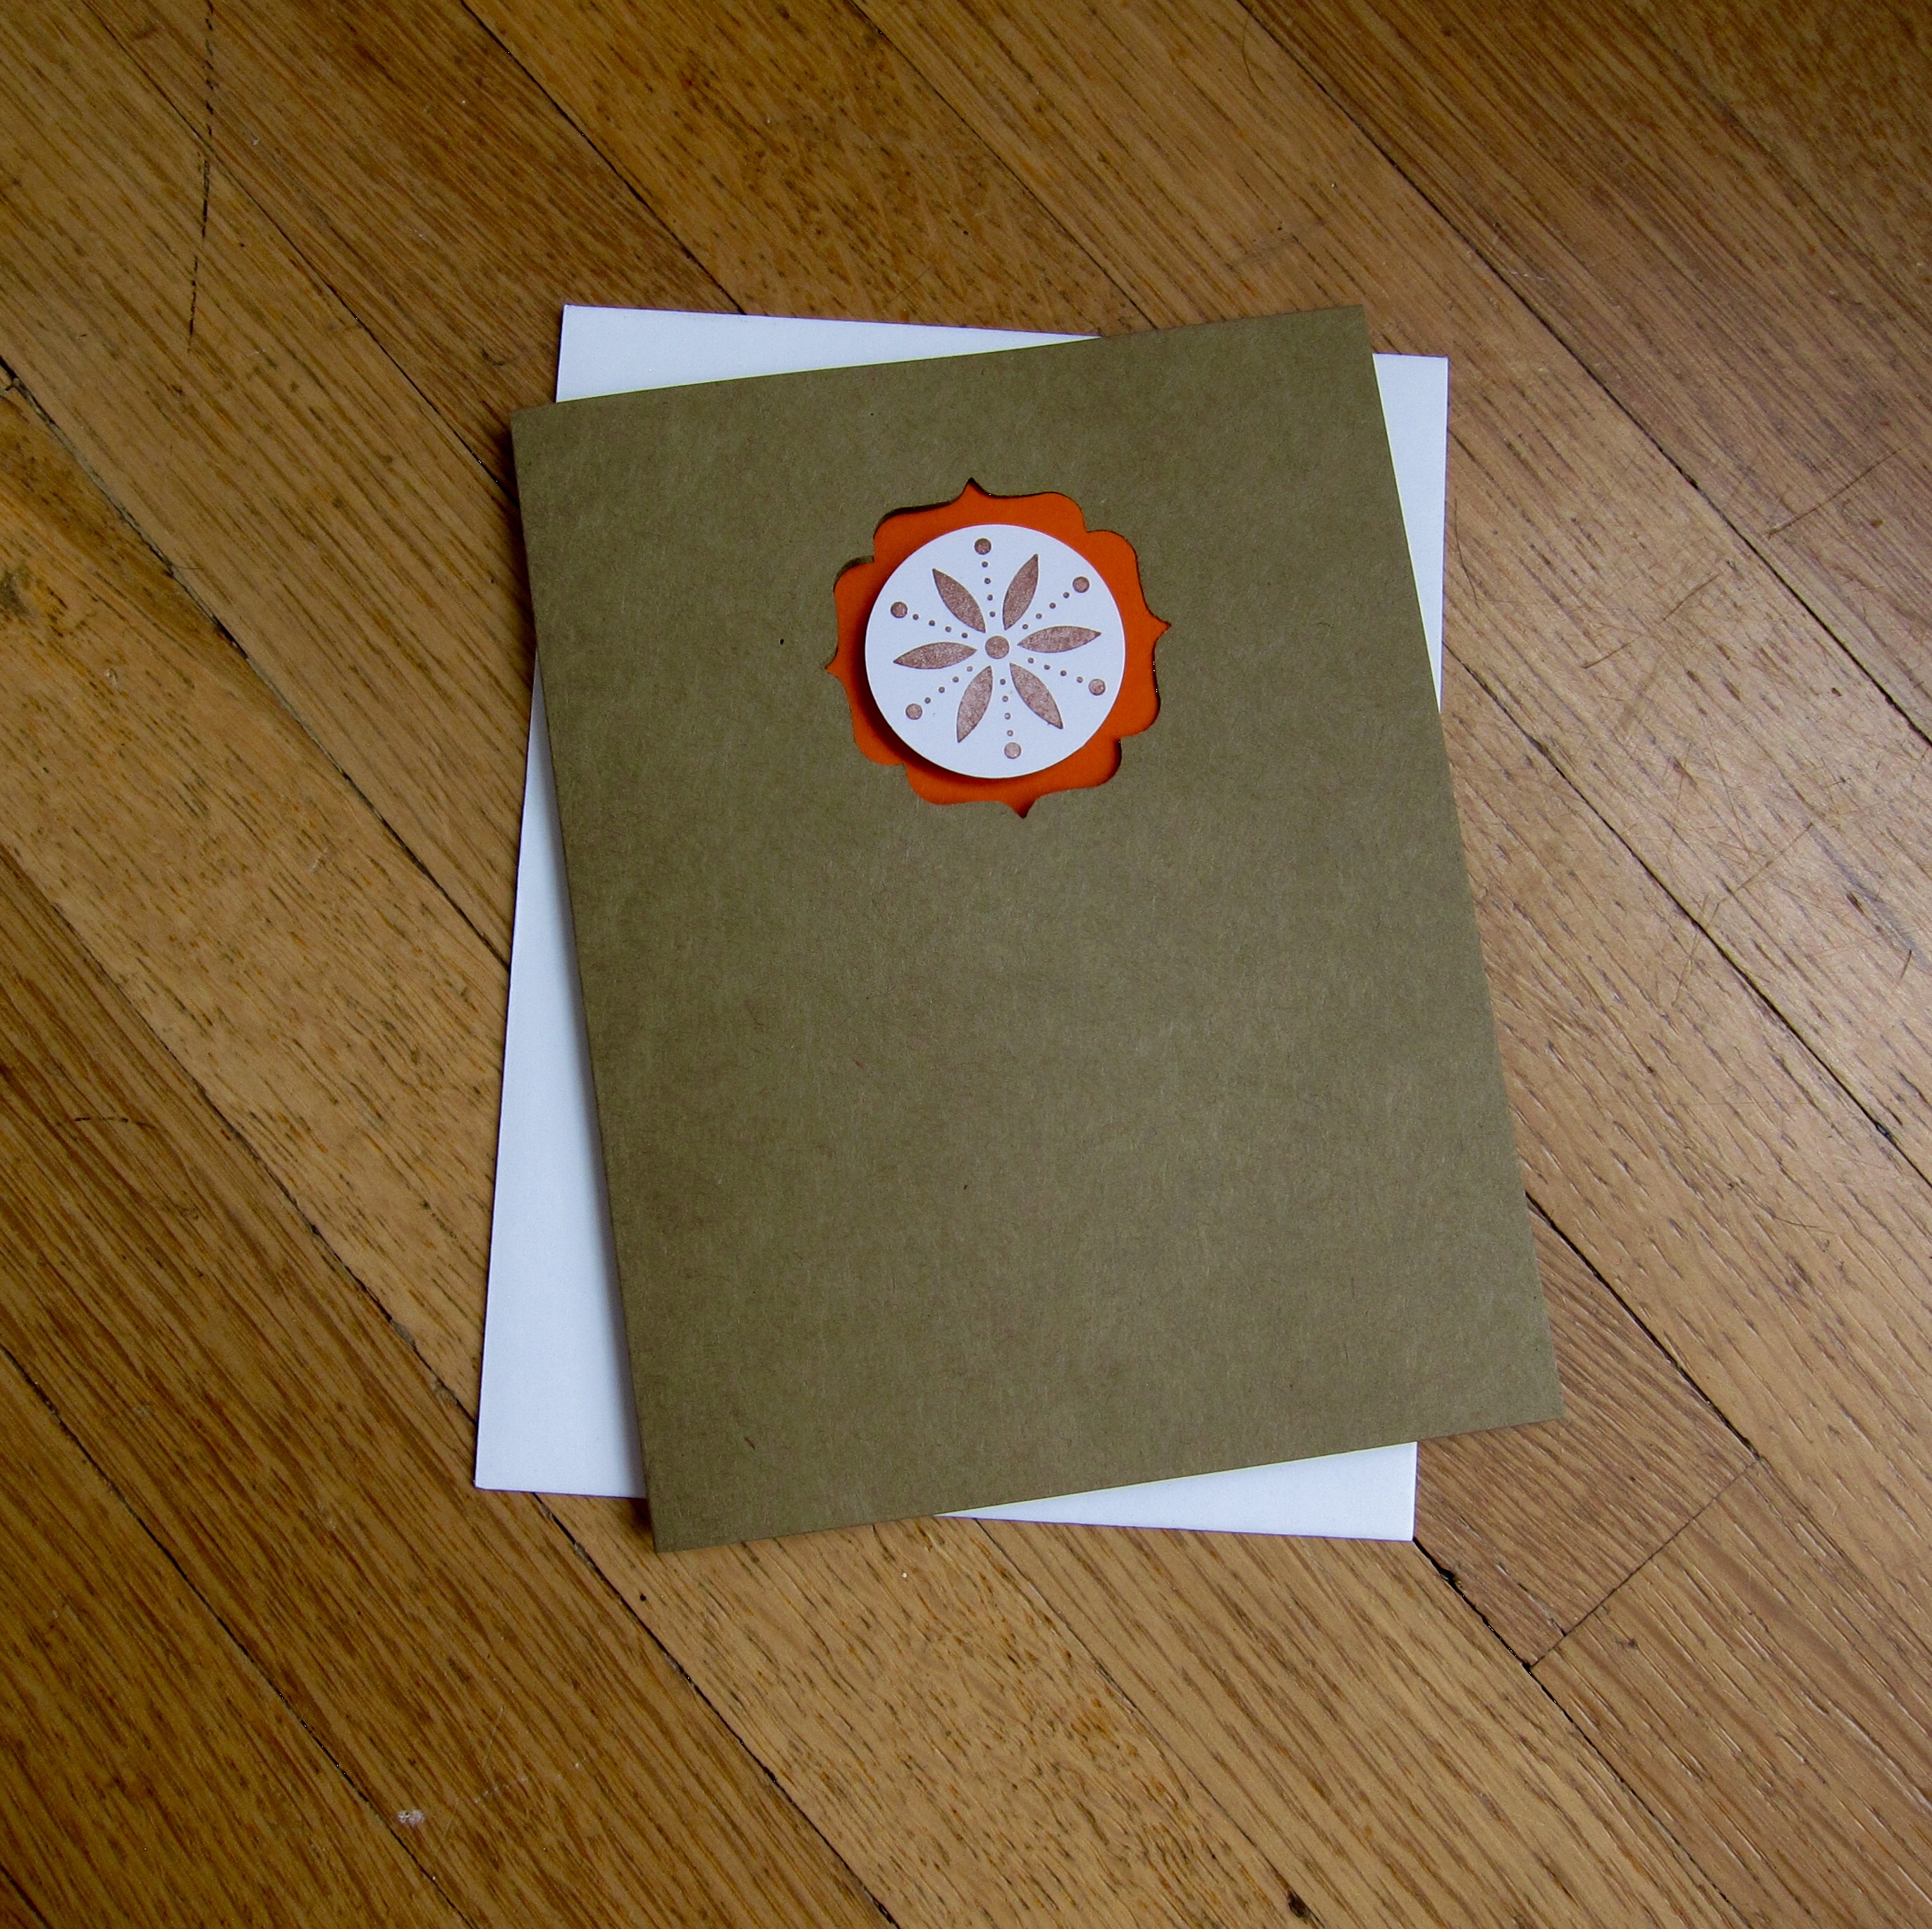
You know that they say the best things in life are free. I believe that the best things in life are simple. It can be as simple as sharing a meal with friends or just chatting away and enjoying the company. Or it can be creating something simple. In case you haven’t guessed it by now. I like simple cards and crafts. I like complex cards, too, but the is just something so nice about a simple card.
For this card I used basic kraft colored paper, a punch from Stampin’ Up and a small flower stamp. The bright orange really pops on the card and the ink is a perfect match for the card. I love this card and I am not ashamed to say so. I hope you like it too!
Last weekend was absolutely beautiful. So we spent a lot of it walking around town checking out all the cool houses. I walk a lot slower than my husband, so he needs to have something to look up on his phone while we walk. So every cool house gets looked up on Zillow – the square footage, number of rooms, bathrooms, when it was built and anything else listed. I try to guess the price and am never right.
On Monday, after our walk, I thought I should make something patriotic. So I pulled out my vintage heart flag letterpress block and got to work. I pressed the heart in blue ink on white Lettra Crane cotton paper. I used Sizzix nested squares to cut out the flag, red mat and window. I really liked how they turned out. Hope you like it!
My friend at work has a husband. He has a birthday in May. After showing her the card-in-a-box I made last week, she asked me if I could make a card for her husband. I said YES! What else would I say?
Awhile ago I bought a really cute stamp set on ebay. The set included a few planets, a rocket and a mini astronaut. I had been planning a card with the astronaut floating above the earth and using the sentiment, “you’re out of this world.” The card-in-a-box was the perfect way to put this plan into action. Black cardstock with black sparkle paper made the best space background. Check it out!
You’re out of this world!
My friend said her husband loved his card. She thought he may have liked the card even more than his gift.
As I have said at least a million times, I love die cuts! There is just something wonderful about taking a plain card or a box die, choosing just the right paper and rolling it through the Accucut Grande Mark or Sizzix Bigshot. You have the perfect base to do something incredible. Or sometimes you really miss the mark and have to start all over. And you can, because you have the die cut.
I used to send all my flops to my mother. She didn’t care what the card looked like, she was just happy to hear from me. She passed away a few years ago, and my pile of flops has grown. Every time I create something that isn’t quite right, I think of my mom. Weird, I know, but at least there is something positive that comes out of these flops!
My newest die is for a card-in-a-box. It has all the cut and score lines, so you don’t have to measure a thing. I also recently got a Sizzix thinlets die set with coordinating stamps. The flowers in the set are lovely! I used Copic markers to hand color each of the flowers, the bees and ladybugs. The happy birthday sentiment was letterpressed with purple ink.
This card certainly wasn’t a flop; my mother would have loved it.
Sometimes the best looking cards are the simple ones. I am on a window cut out kick. I will take a normal A2 sized card and cut out a small square on the front of the card. Then I will put a small decorative element inside the card, just a teeny bit smaller than the window I cut out. That is it. Nothing fancy. But somehow it seems elegant to me. Of course I might just be a little biased.
The most recent card uses kraft grey paper, with a small purple flower. The flower was punched with a stamping up whale punch. I adhered a little pink rhinestone in the middle of the flower for a little bling. Everything looks good with a little bling!
This card was quick and easy, but a satisfying project.
I just finished making 150 mustaches on a stick for our upcoming retiree dinner. This event will be so much fun! We have a circus theme and every attendee will get a mustache and a clown nose. These will go great in our photo area, along with our circus animals and strong man bar bell.
I have been just a little stressed out at work recently. A colleague retired and we don’t have a replacement yet. So I am pulling double duty. It has been fun learning, but I need something to calm down my brain when I get home. So I have been using my craft room full of toys to destress my life.
This weekend I opened up a new ink for my letterpress. A beautiful deep purple. I pressed a bunch of “Happy Birthday” tags to use on cards. Once I have a good example I will post a picture!
I also made up some cute construction themed party invitations using the Stampin’ Up set “Fun on Wheels” set.
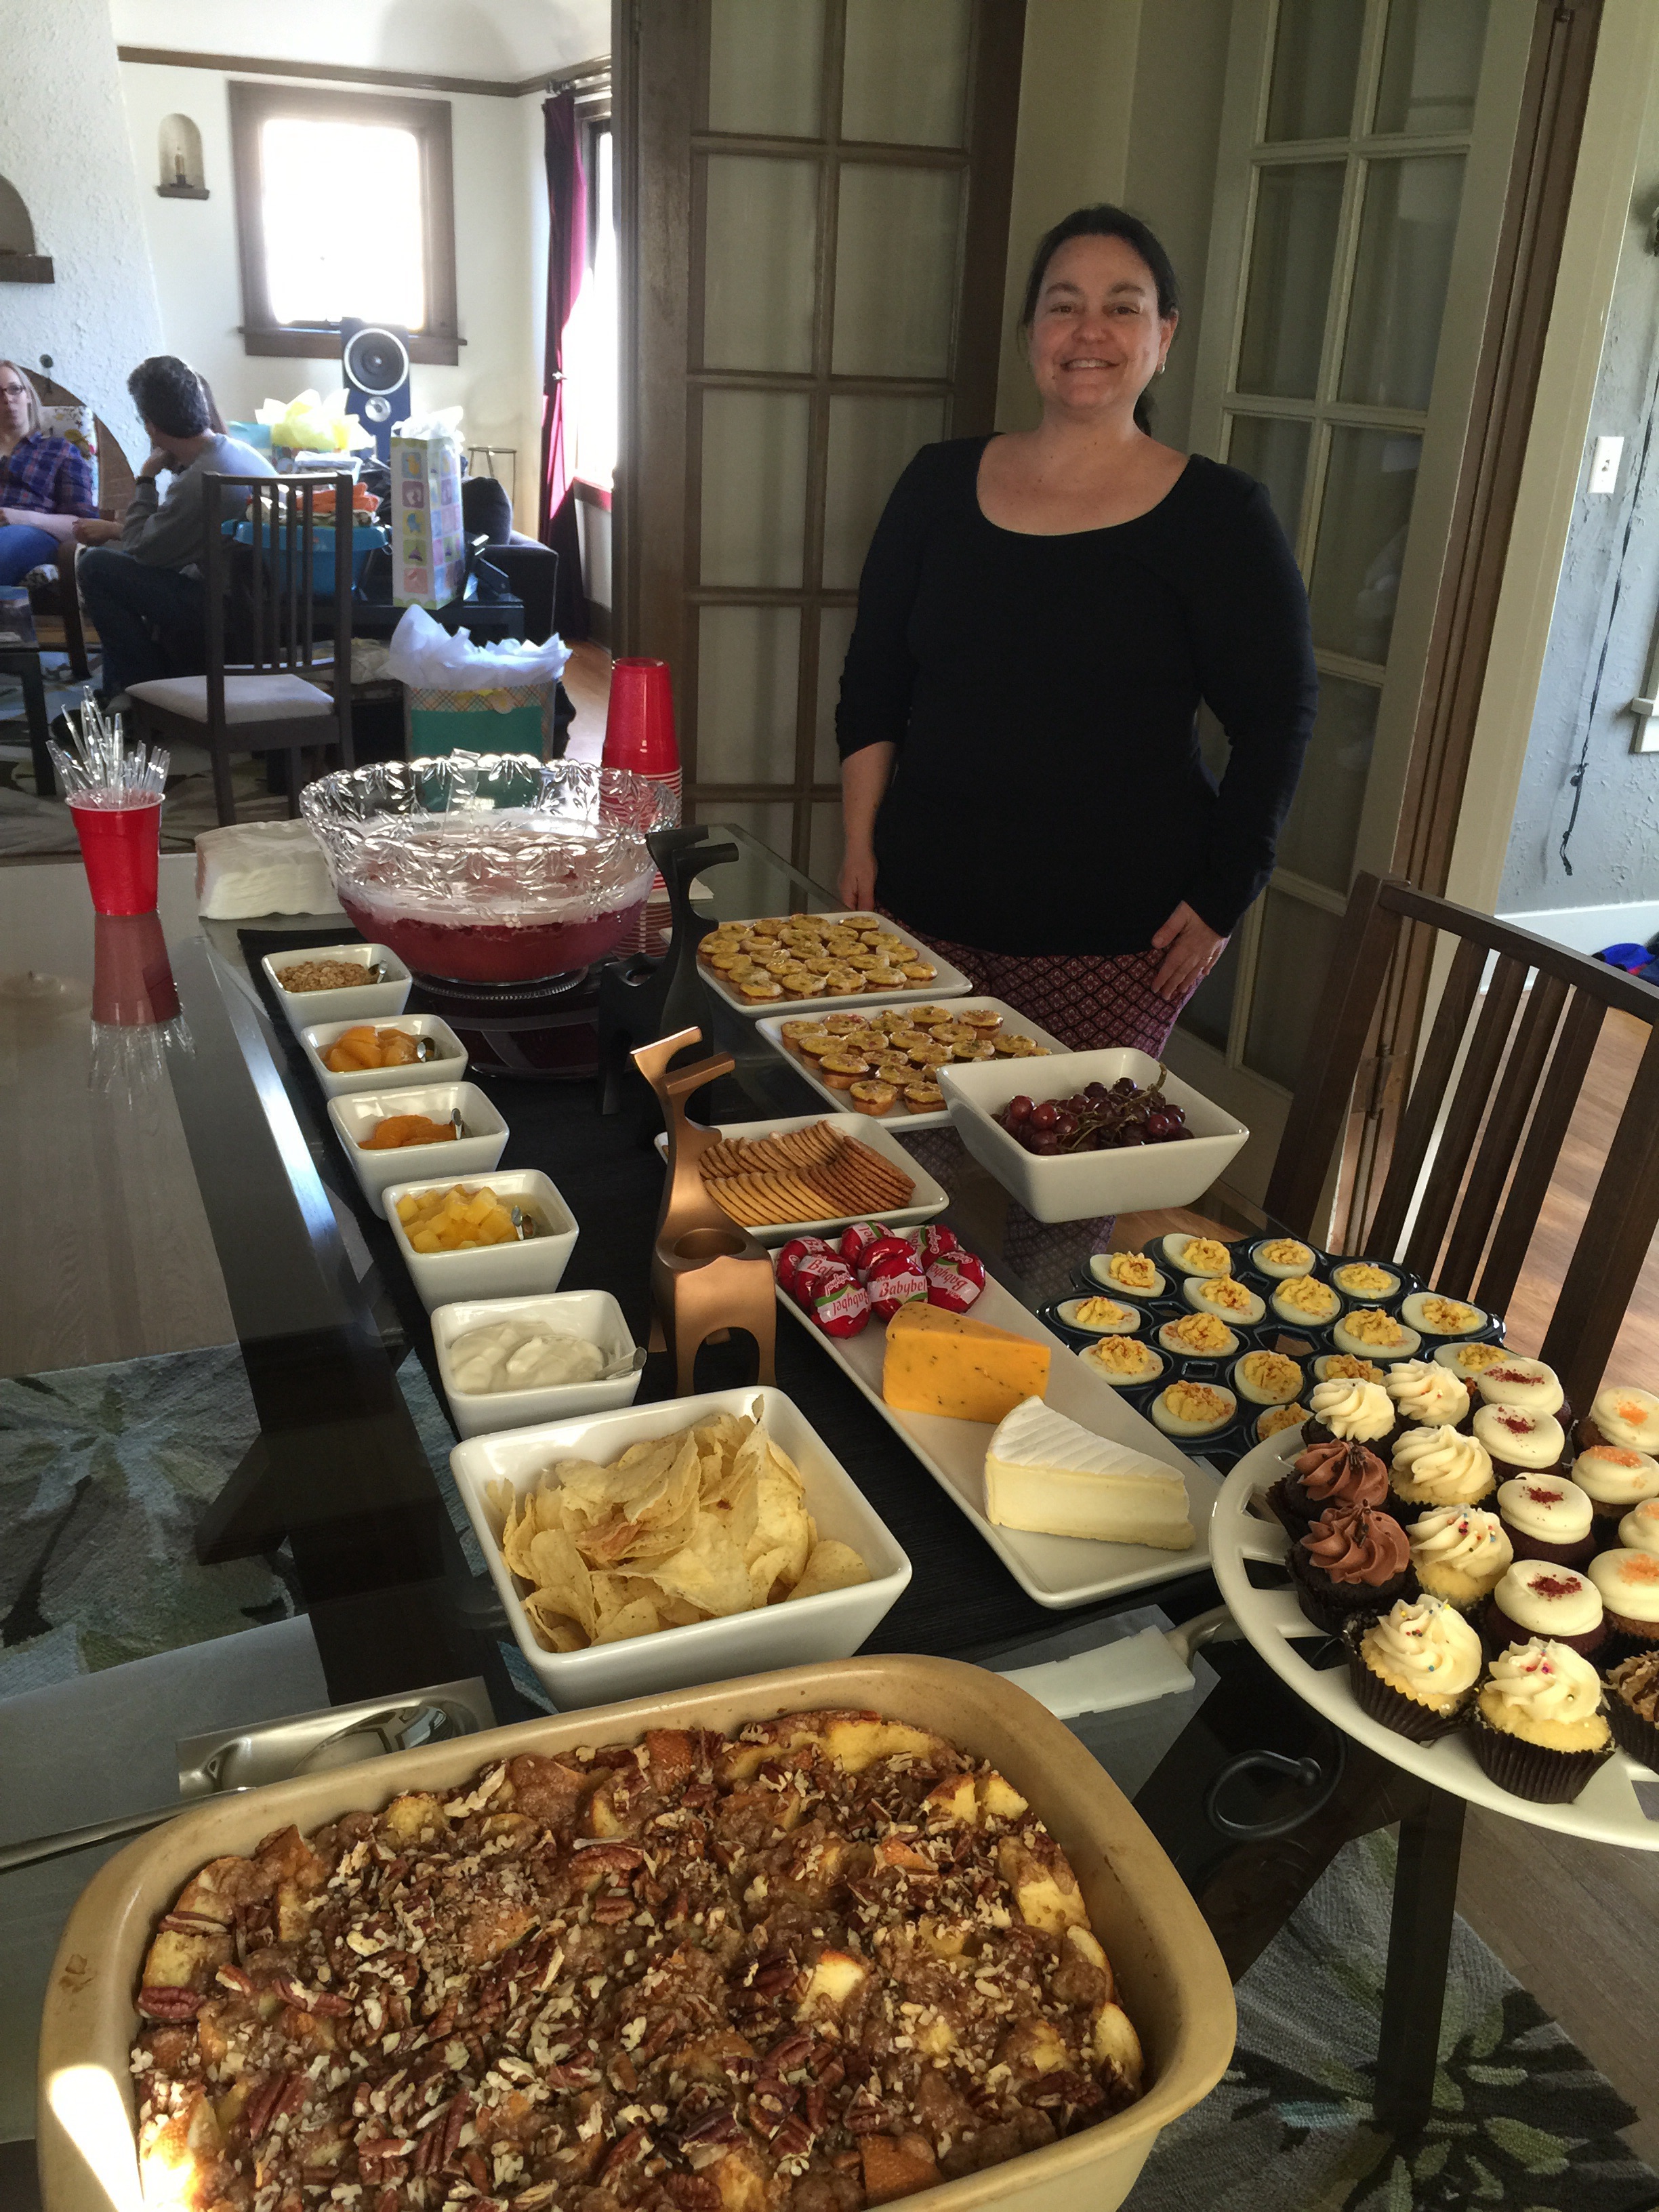
This past Saturday I co-hosted a baby shower for one of my good friends. You would think I would have gone way overboard on decorations and favor boxes. But I didn’t. I spent all my energy on the food! I made a delicious baked French toast with pecans, mini quiche (vegetarian and with ham), deviled eggs with a hint of habanero sauce, a cheese plate, crackers, fruit, yogurt, chips and mini cupcakes. Everything was so tasty.
Tasty Food for the Baby Shower
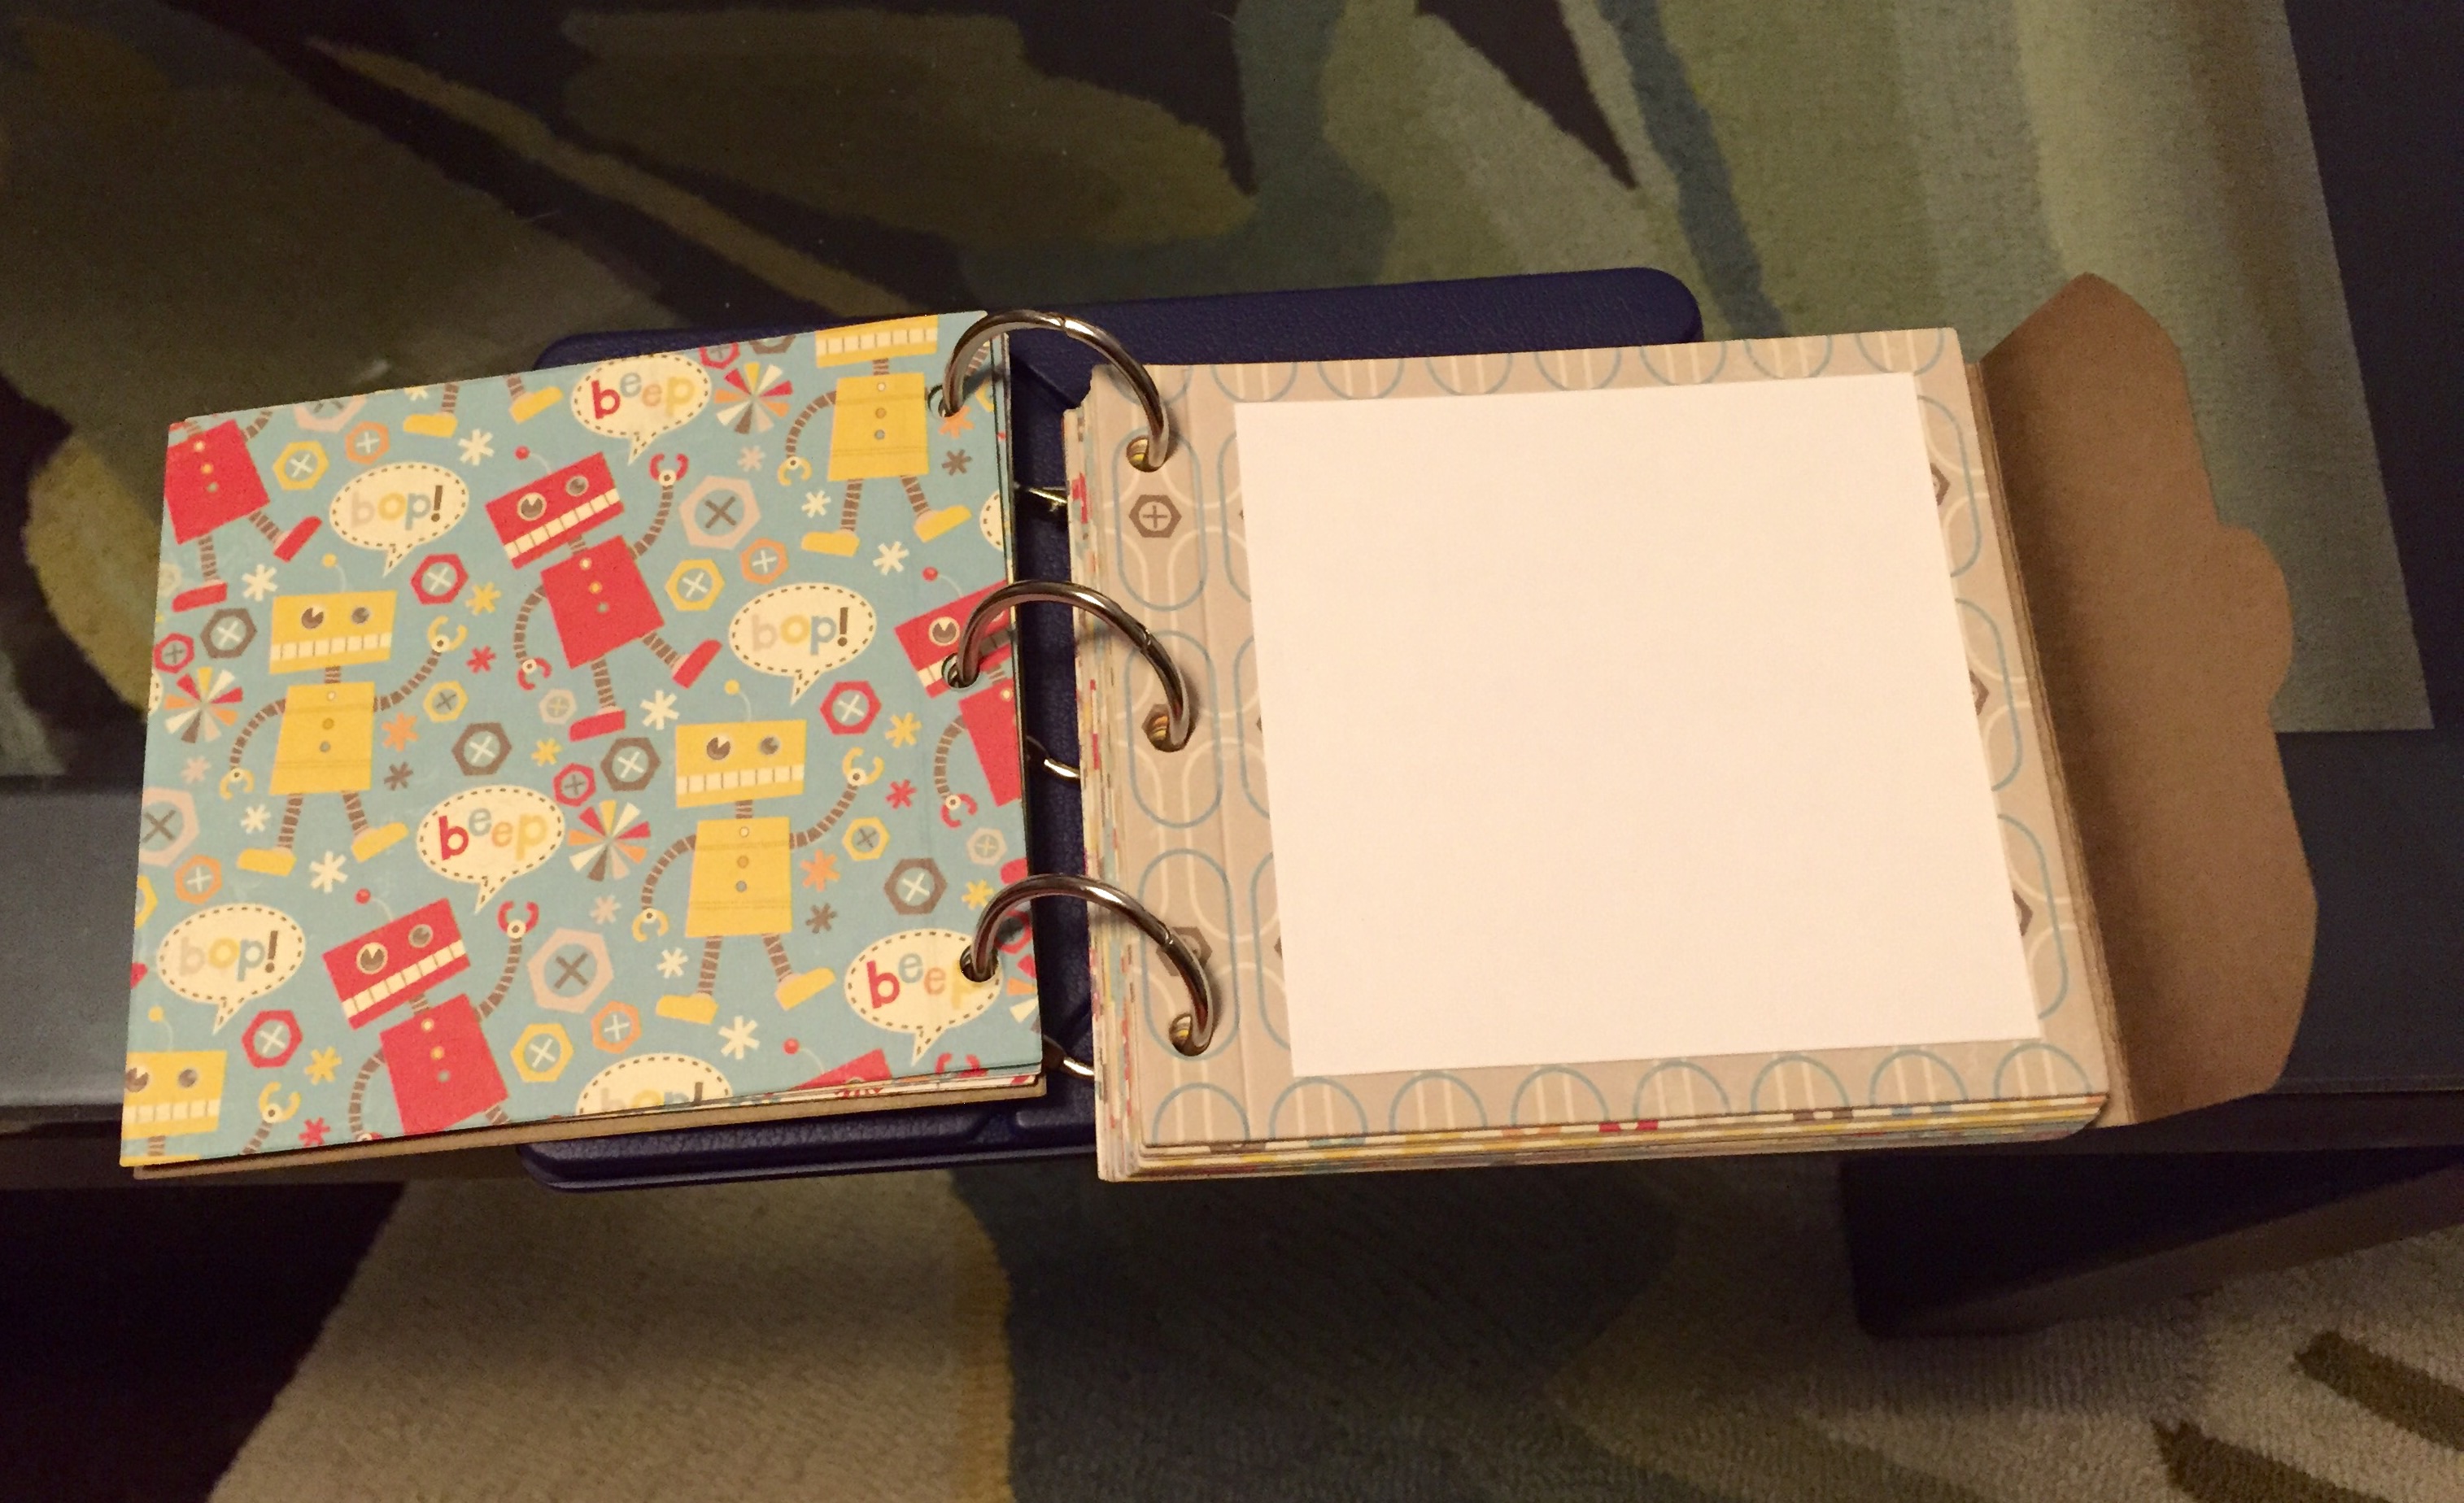
I did one crafty thing for the shower. I put together a mini album where each guest wrote a bit of advice then we added a picture. Here is what a blank page looked like.
Baby Shower Book
The basic recipe for the baked French toast is:
1 French baguette, cubed
8 eggs
2 cups milk
1/2 cup heavy cream
1/2 cup sugar
1/2 cup brown sugar
2 tablespoons vanilla
Topping
1/2 cup flour
1/2 cup butter
Cinnamon
Nutmeg
1/2 cup brown sugar
Put the bread in a 9 by 13 pan, mix ingredients and pour over bread. Cover and put in the fridge overnight. In the morning, mix up the topping and sprinkle over the top. Add pecans if you want. Bake for 1 hour at 350. Yummy!
My friends and I decided we need to spend more time hanging out. So we are instituting a monthly craft day. Every one brings her own project, and the hostess of the month makes a light lunch. Today was our first craft day. Our crafts included knitting a scarf, digital scrapbooking, creating a stash of cards, felting and making party favors. It was a blast getting some work done and chatting.
Lunch was a fabulous home-made white bean and kielbasa soup with fresh bread and pie for desert. Health and delicious!
Ingredients
1 pound dried white beans (such as great northern or navy)
14 ounces kielbasa, halved lengthwise and sliced 1/2 inch thick
4 cups low-sodium chicken broth
1 14.5-ounce can diced tomatoes
1 large onion, chopped
6 cloves garlic, chopped
1 teaspoon dried rosemary
5 ounces baby spinach (6 cups)
Directions
1. In a 4- to 6-quart slow cooker, combine the beans, kielbasa, broth, tomatoes (and their juices), onion, garlic, rosemary, and 1 cup water.
2. Cover and cook until the beans are tender, on low for 7 to 8 hours or on high for 5 to 6 hours.
3. Just before serving, stir in the spinach. Serve with the bread.
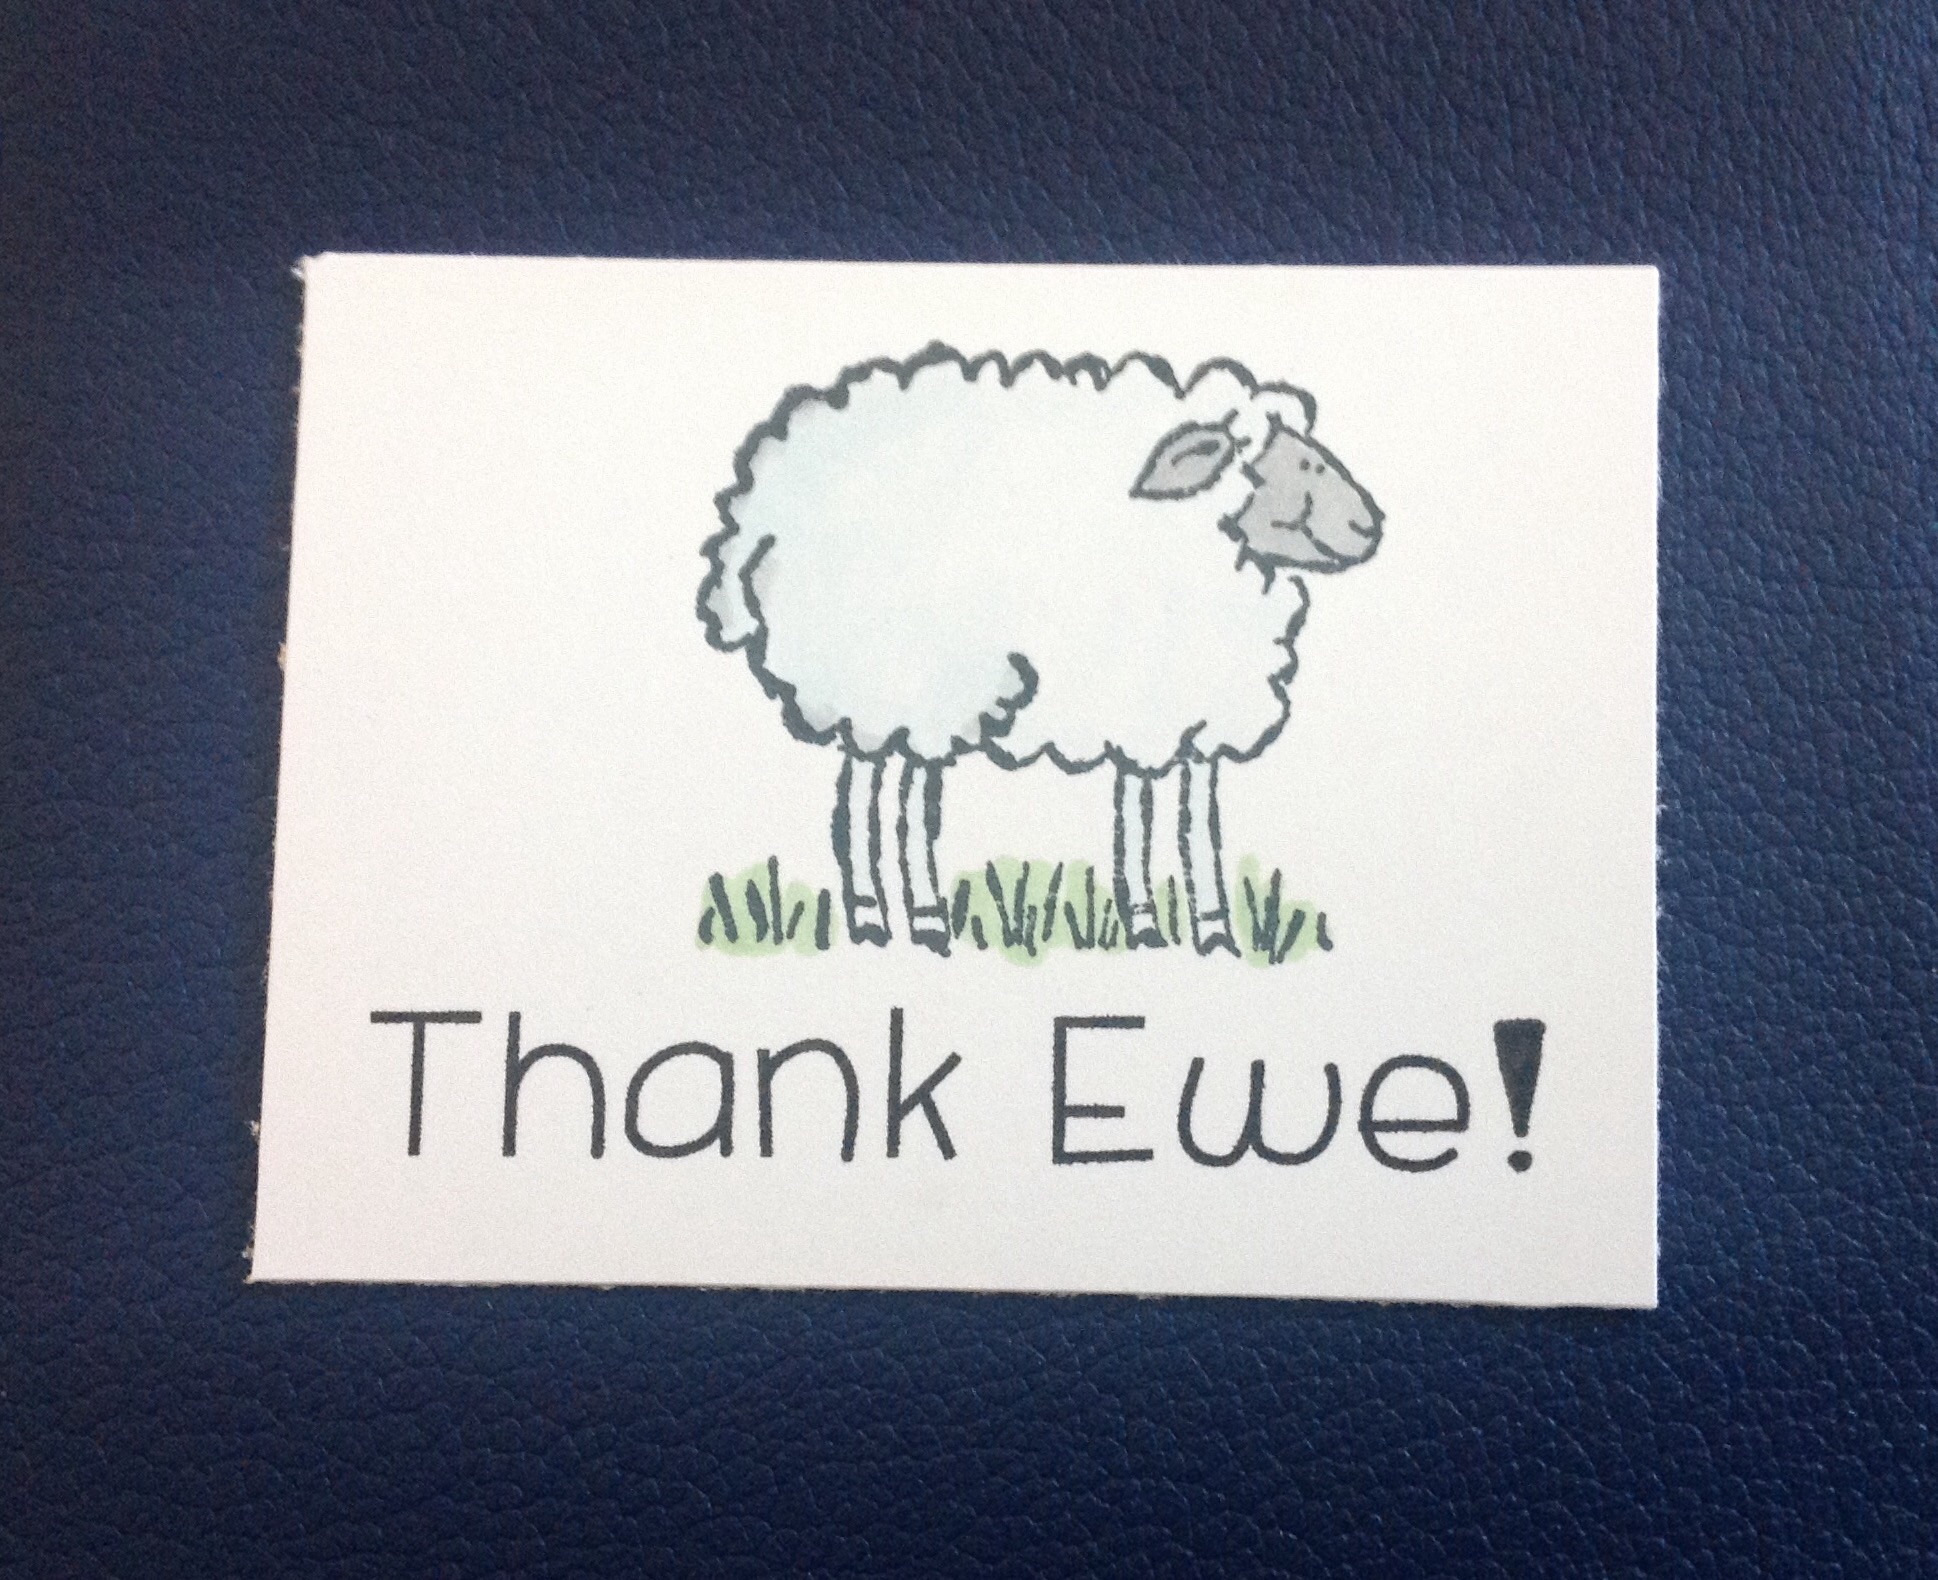
i was working on party favors for my friend’s son’s first birthday. They are having a farm themed party, so cute. The favors will be a small box filled with treats and toys. The boxes will have a little sheep on them with the sentiment “Thank Ewe!” Hoe cute is that!
I used the Stampin’ Up set On the Farm, with black Memento ink and colored the image with Copic makers. The sentiment was printed.
Stampin’ Up! makes the cutest stamps. I buy new sets and used sets and may have even stolen a set from my sister once. I have even bought the same set more than once! I was so excited yesterday because I had four eBay packages waiting for me when I got home.
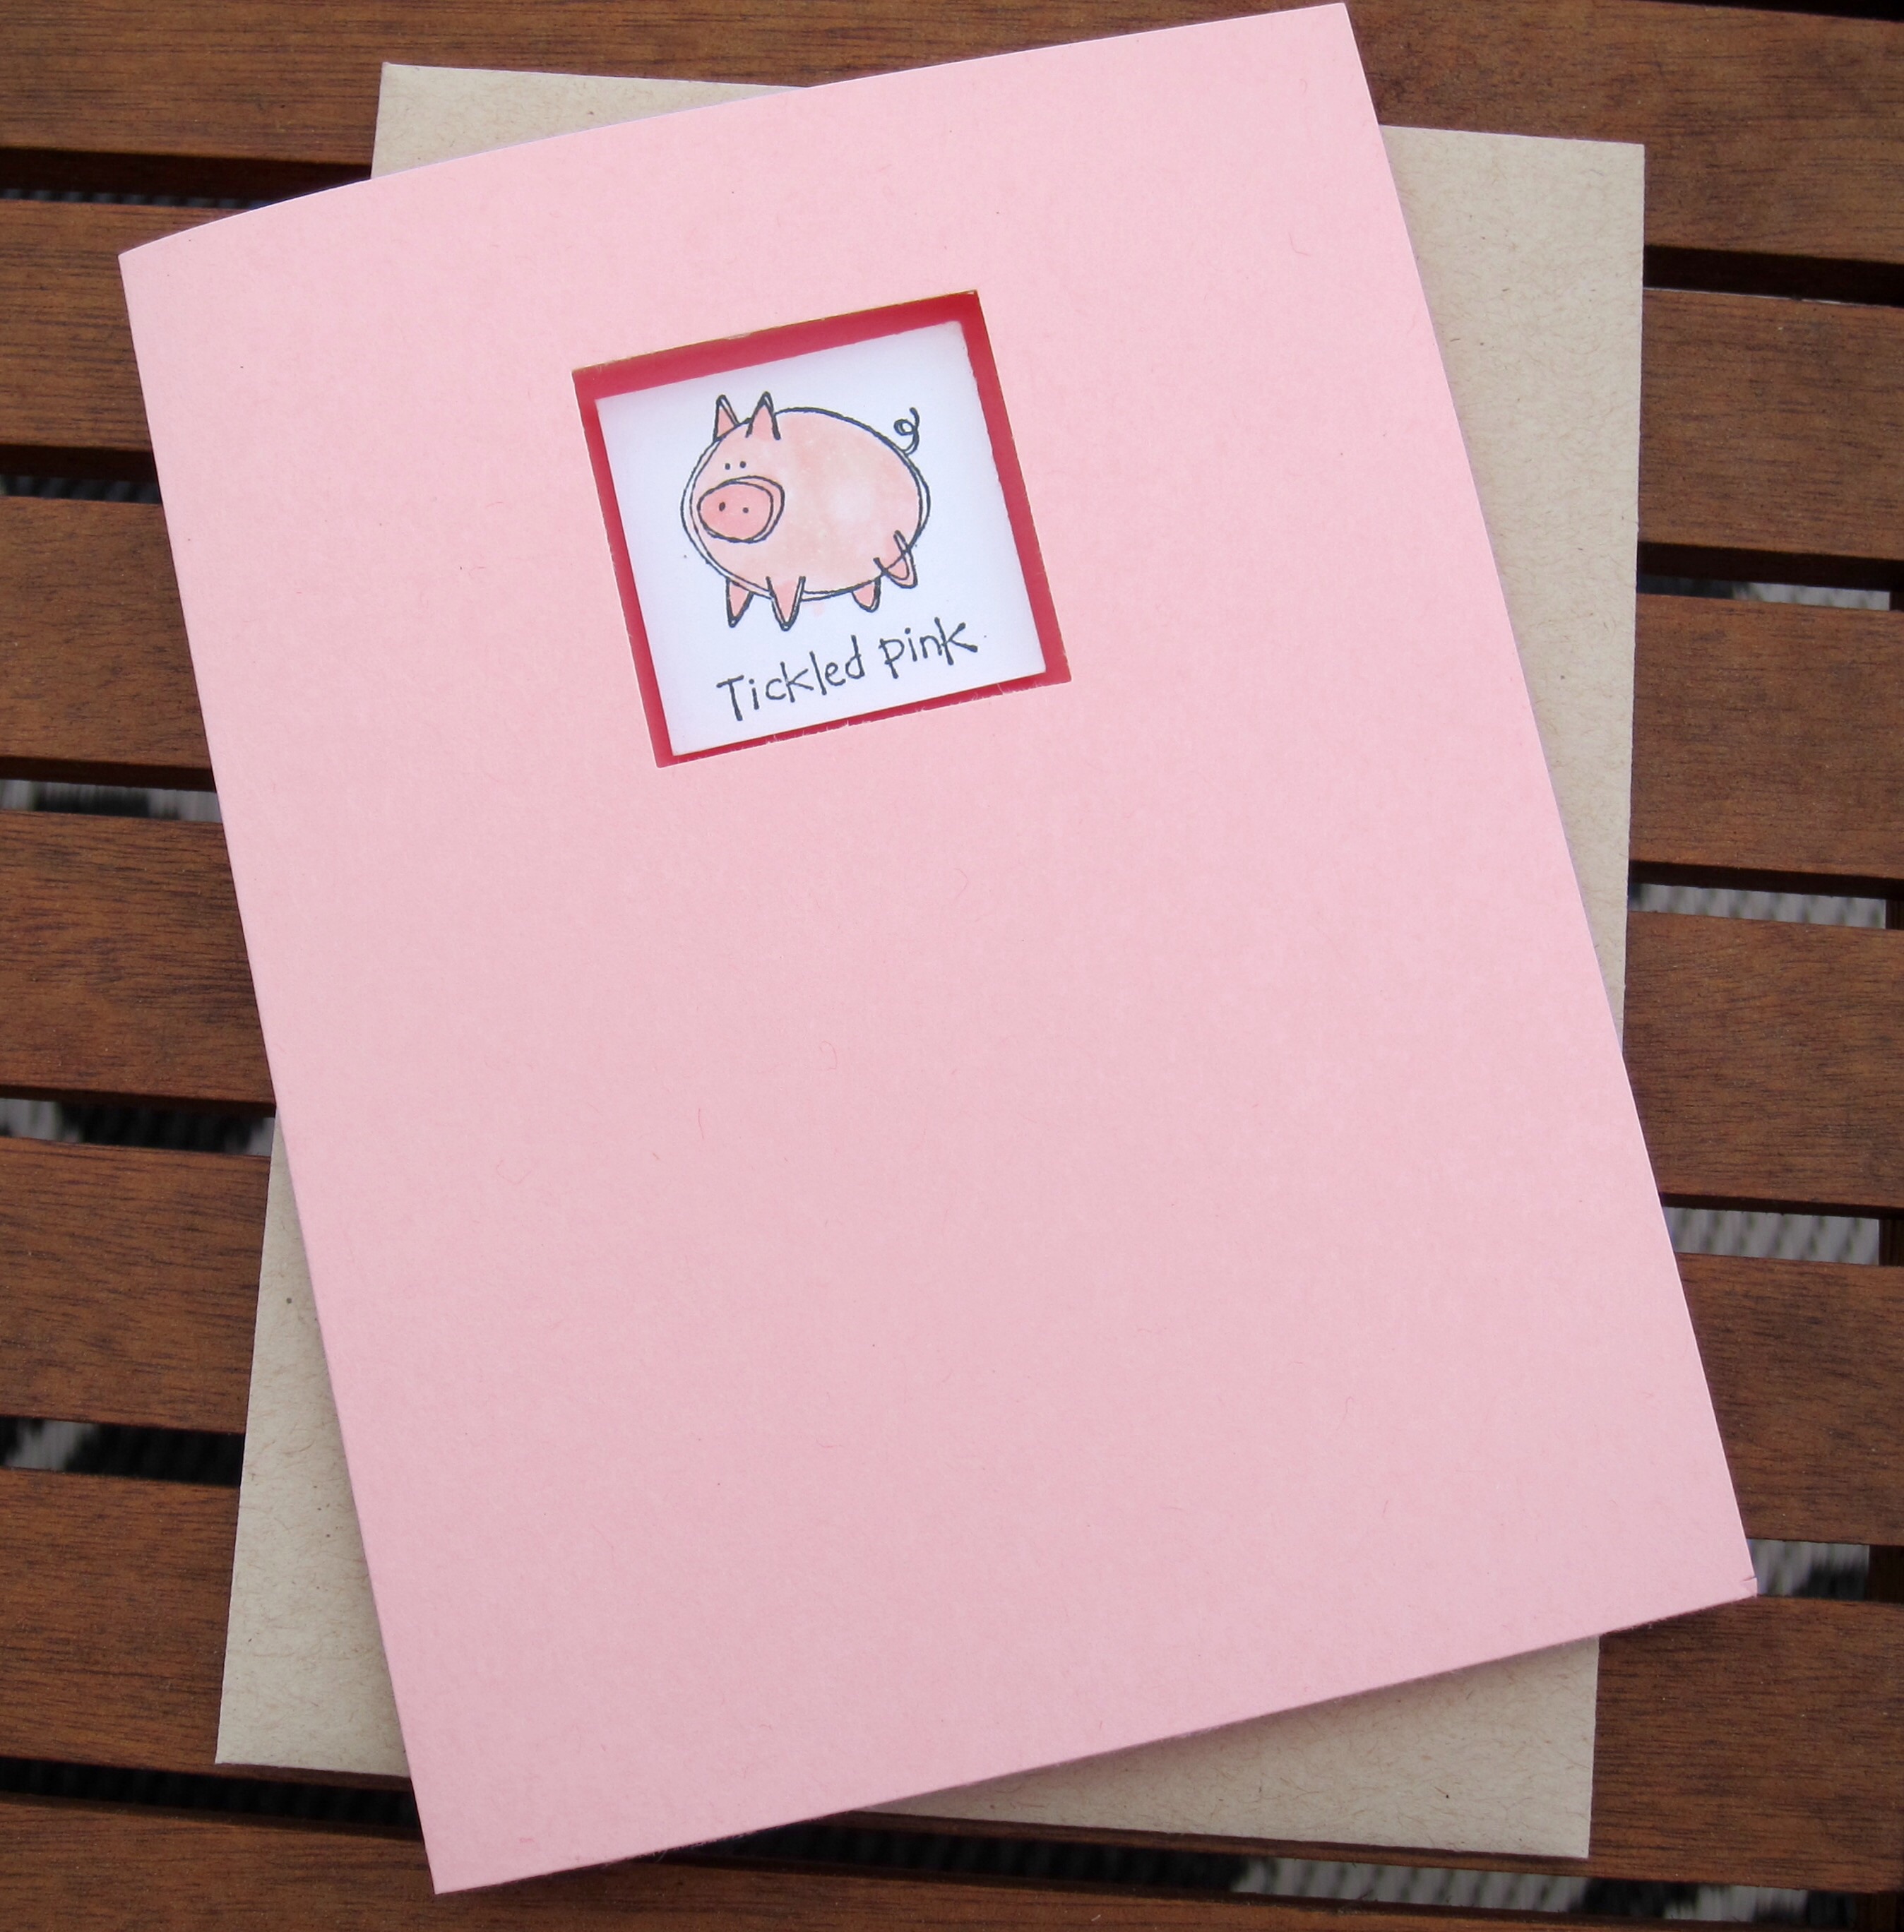
The stamp set Very Punny is fabulous and I had fun putting together this tickled pink card. I stamped the little pig on a white background, colored him with Copic markers, mounted him on a medium pink square and put it all together on a light pink card stock. Hope you like him!